How to Read Brick Building Instructions: A Symbol Guide
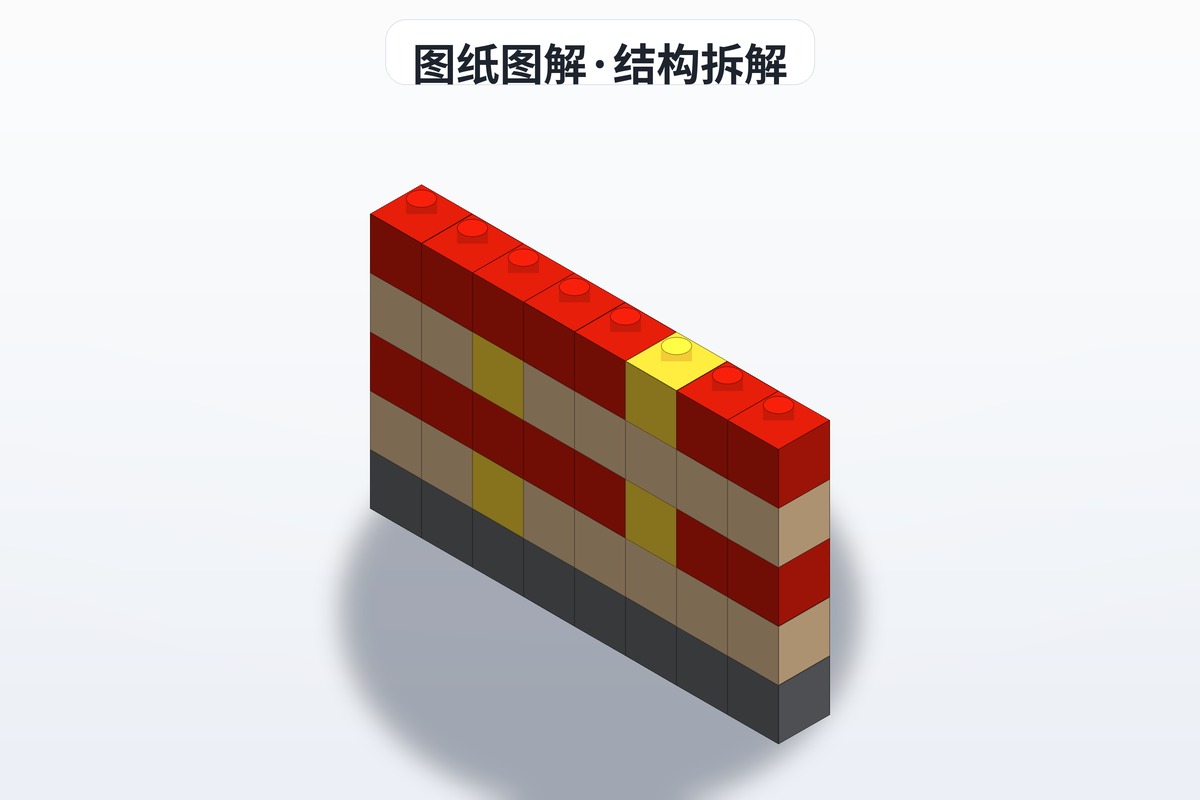
You open a new box, spread the manual on the table, and a wall of dense line work stares back at you. It looks intimidating, but it isn't. A building manual is a highly standardized visual language with grammar — a handful of rules you learn once, and then every brand's booklet reads the same way. Here is everything about the symbols, the sequence, and the traps, in one pass.
1. The Basic Structure of an Instruction Booklet
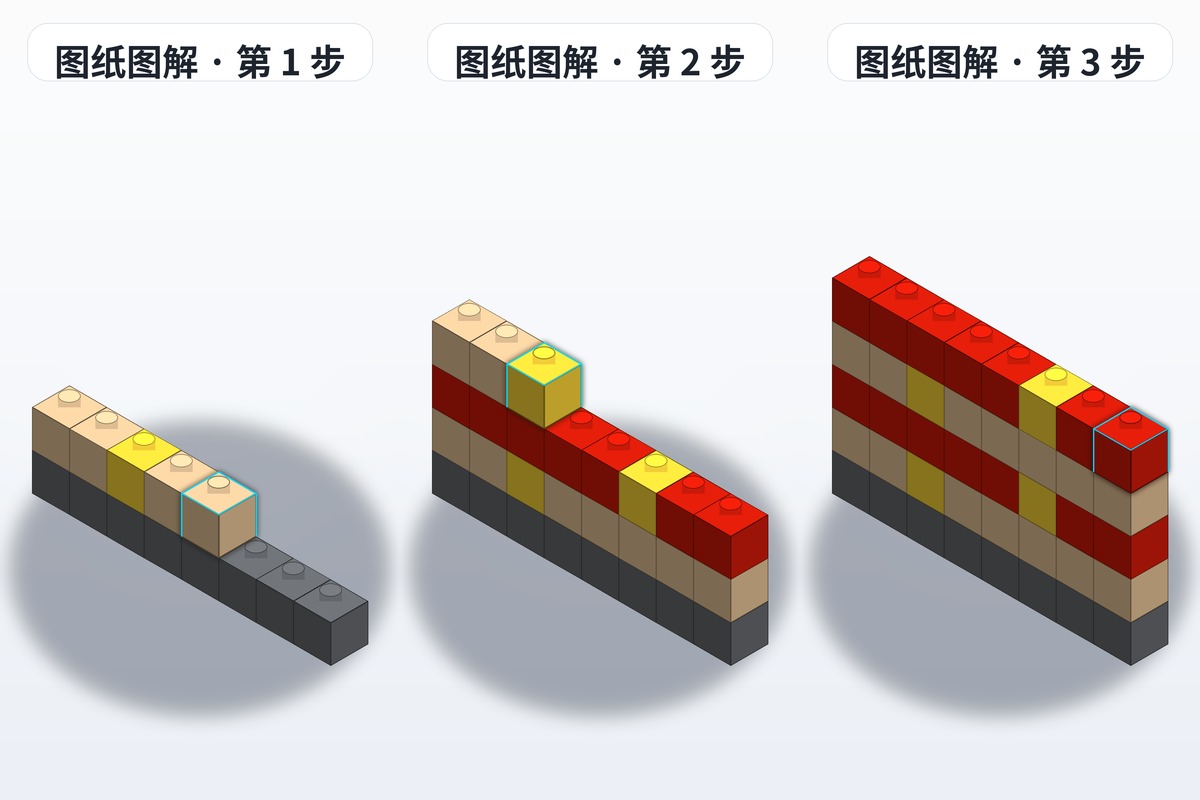
A standard instruction booklet is built from a few core elements:
Parts list: the first page of a step usually lists every part needed for it, including element number, name, color and quantity. Some brands also print a 1:1 scale drawing so you can lay a part directly on the page and compare its size.
Step numbers: each major step is numbered, normally starting at 1 and counting up. A major step can contain several sub-steps, distinguished by letters or small numbers.
Arrows and direction indicators: the single most important element in any manual. An arrow shows how a part goes in — an upward arrow means press it in vertically, a curved arrow means rotate or fold the part, and a double arrow means line it up with a slot or clip.
Color coding: brands annotate color differently. LEGO typically prints in the real colors, while some Chinese brick brands use color codes or numbers as an extra identifier.
2. Instruction Symbol Quick-Reference Table
Learn these common symbols and your building speed will roughly double:
| Symbol | Meaning | Explanation |
|---|---|---|
| ➡️ | Assembly direction | The part is inserted from the direction of the arrow |
| 🔄 | Rotate | The part must be turned to a specific angle before fitting |
| ⚡ | Caution | An easy place to make a mistake — pay extra attention |
| 🔍 | Zoomed view | A magnified detail showing a critical connection point |
| ✂️ | Cut | The part must be trimmed or cut to size |
| 📏 | Align | Two parts must be aligned flush on the same plane |
| 🔗 | Connect | Several parts are joined first, then installed as one unit |
3. Five Mistakes Beginners Make Most Often
1. Skipping the parts check
Many people start building the moment they open the manual, then discover halfway through that a piece is missing. Do it the right way: count every part against the parts list first, confirm nothing is absent, and only then begin.
2. Ignoring the step order
Instruction diagrams are designed to be strictly linear. Skipping a step or jumping ahead will directly block the next installation. If a step won't go together, check first whether the previous step was completed exactly as drawn.
3. Getting the orientation wrong
The part diagrams are top-down views, looking straight down from above. Hold a part upside down and your orientation will be wrong. For tricky orientations, use the three-point method: find three asymmetric studs on the part and confirm their positions against the drawing.
4. Pressing too hard
Worried about loose parts, beginners often force pieces together and end up deforming or jamming them. The correct technique is press vertically and stop at the click — one firm, straight push until it seats.
5. Missing the level markers
Instructions for large models such as castles and spaceships usually mark the current level — which layer of the build you are on. Mix up the levels and both structure and color will go completely wrong.
4. The Different Types of Instruction Diagrams
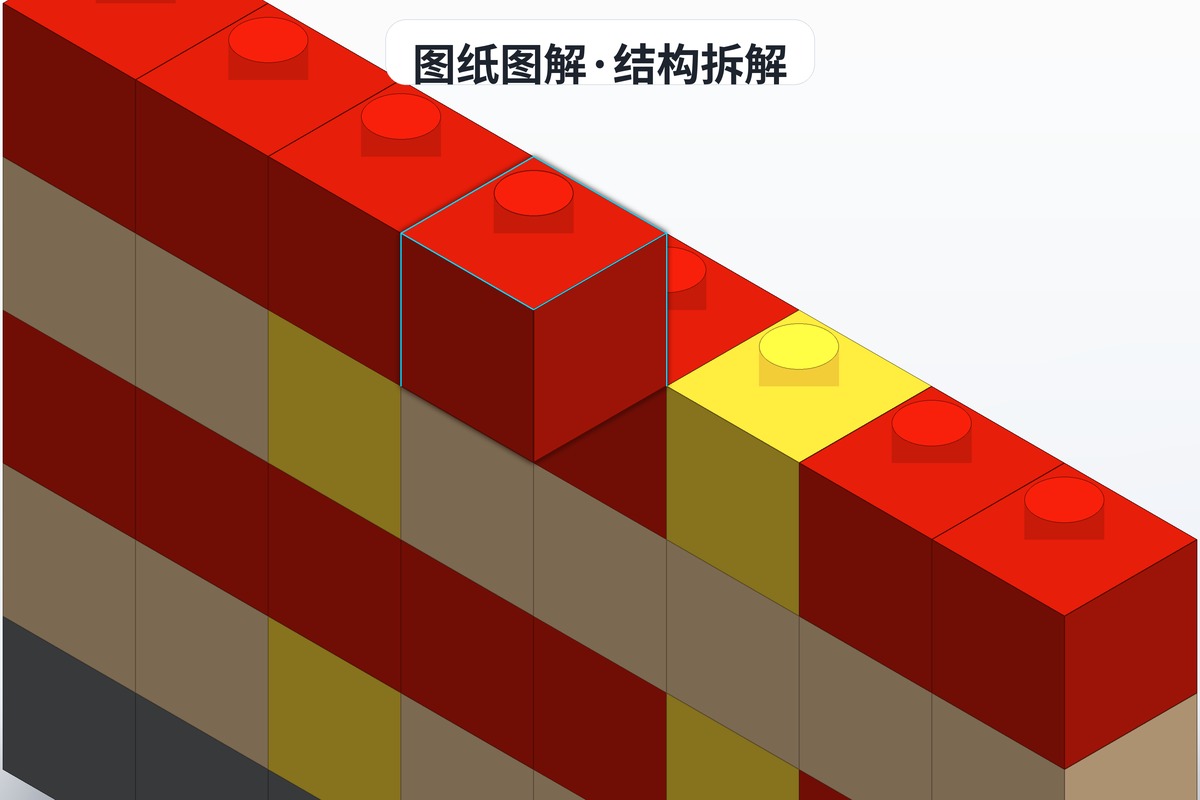
Flat diagrams
Most common in small sets. The manual shows a 2D overhead view and each step adds only a few parts. Ideal for beginners because it is hard to misread.
3D diagrams
Common in large mechanical and technic sets. The manual shows part positions from multiple angles — front, side and back. It demands some spatial imagination, but the annotations are clearer.
Exploded views
This is the most advanced form of instruction diagram: every part is drawn pulled apart in installation order, showing the relative position of each piece to its neighbors. You'll usually find these on complex models or as an overview at the end of a manual.
5. In Practice: Read Any Manual in Three Passes
Pass one — flip through the whole thing. Page quickly through the entire booklet to gauge the overall complexity and roughly how many steps there are.
Pass two — track your progress. Tick each completed step with a pen or add a sticky marker. This prevents skipped steps and makes it easy to find your place when you come back later.
Pass three — locate the problem. When a step doesn't make sense, don't force it. Look ahead to the next major step; the wider view there often explains the logic of what came before.
6. Recommended Tools and Resources
- BrickPlans: our platform hosts a large library of instruction diagram resources, with search, favorites and downloads
- Sorting trays: divide parts into small boxes by step number — a huge boost to building efficiency
- LED light pad: a transparent illuminated board that makes fine detail on the page much easier to read
- Phone stand: hold a digital copy on your phone or tablet steady and keep both hands free
Slow Reading, Fast Hands
Reading a building manual is a visual language you can learn. Once you know how the symbols work, how steps break down, and where beginners trip up, any set on the table stops being intimidating. In the end, the manual is the designer walking you through the thinking — understand it and the two of you are on the same page.
Next time, don't dive straight in. Flip through the booklet first. Those ten slow minutes will save you an hour later.