Free MOC Plans: Build Your First MOC for Nearly $0
Free plans plus compatible-brand parts turn MOC building into something you can start for the price of a single small set. The formula is simple: pick a plan in the 200–500 part range from a free library, download it with its parts list, buy only the parts you are missing, and build it once before designing anything yourself. A first MOC done this way typically costs somewhere between nothing and 25 USD.
Two things make this possible in 2026. Free plan libraries are large enough that you rarely need to pay for a design, and compatible-brand parts sell at roughly a third of official prices for the same geometry. What is still hard is choosing well: the wrong first plan costs more in frustration than in money.
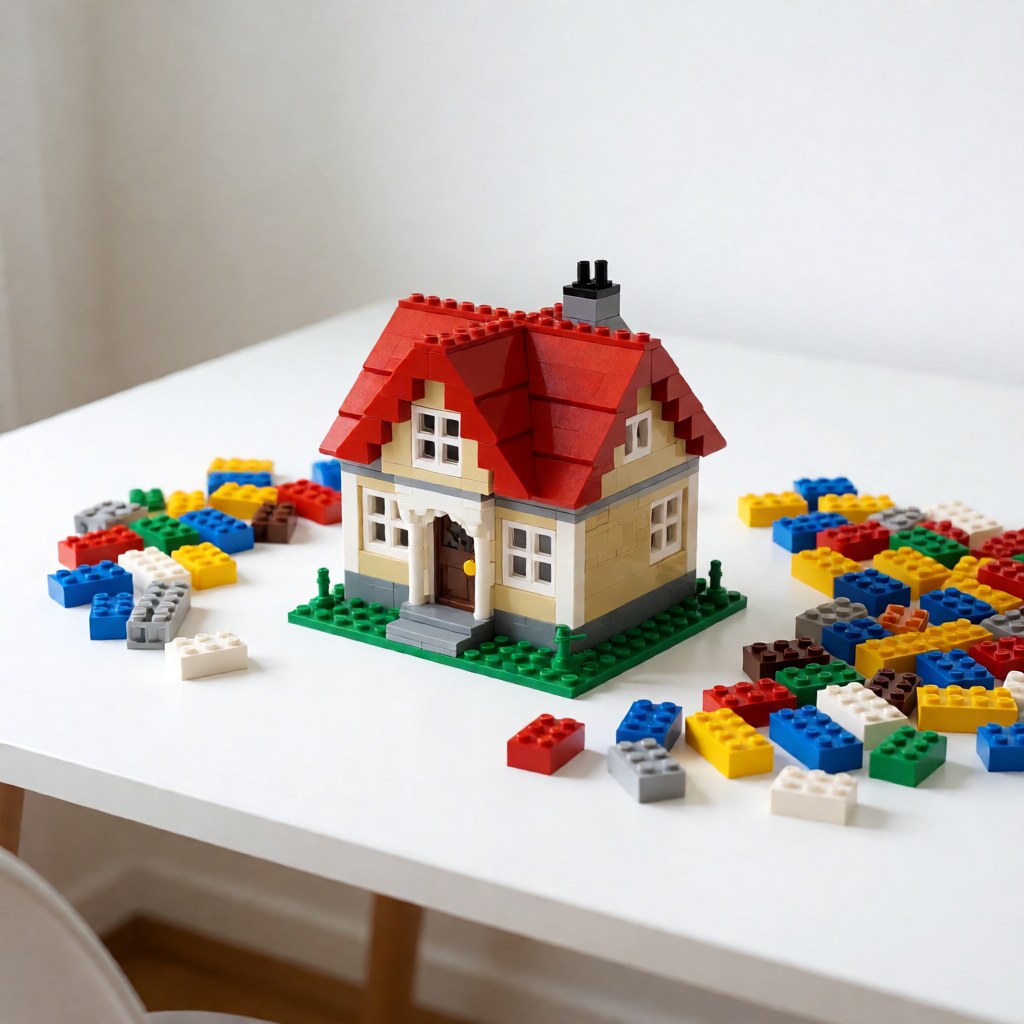
Why compatible-brand parts change the maths
A 400-part model in official parts, bought piece by piece, commonly lands between 45 and 70 USD. The same build in compatible-brand parts usually lands between 15 and 25 USD, and less if you own some of the parts already. The gap is not a small discount — it is the difference between "a project I will think about" and "a build I can start this weekend".
Three things to know before you rely on that price gap:
- Geometry is shared, tolerances are not identical. Compatible parts click into official parts reliably; clutch force and colour vary slightly between makers.
- Colour matching is the real weak point. Keep any visible face of a model to one brand and one purchase batch.
- Special parts are the strong point. Compatible brands often sell shapes, colours and lighting elements that the official catalogue no longer produces.
Where free plans actually live
- Indexed plan libraries are the easiest starting point, because plans are sorted by theme and part count and each plan page lists the parts used. That listing is what lets you price a build before committing.
- Community catalogues hold the largest volume of plans, and the inventory tool shows exactly which parts you are missing from a plan — the single most useful feature for a beginner on a budget.
- Design tools let you open a downloaded design, recolour it to match the parts you own, and regenerate the parts list. Free, desktop only, and the fastest way to make a plan fit your parts bin.
- Brand communities publish plans designed around that brand's own parts, which removes the substitution problem entirely.
Choosing a first plan: the numbers that matter
| Part count | Build time | Suits | Watch out for |
|---|---|---|---|
| 100–200 | 30–60 min | A test build, a gift | Too simple to teach structure |
| 200–500 | 1–3 hours | First MOC | Best all-round starting range |
| 500–900 | 3–6 hours | Second or third build | Needs sorted parts and a bigger table |
| 900+ | 8 hours and up | Confident builders | Small parts fatigue, harder to pause |
Three selection rules that matter more than the part count:
- Parts per step, not parts total. Divide the part count by the step count. Under six is beginner-friendly; over ten means dense sub-assemblies and a lot of small-part handling.
- Common colours only. A plan built from standard bricks, plates and slopes in basic colours is cheap and completable. A plan leaning on one rare colour is neither.
- A photographed finished model. It gives you something to check against at each stage, which is exactly what a first build needs.
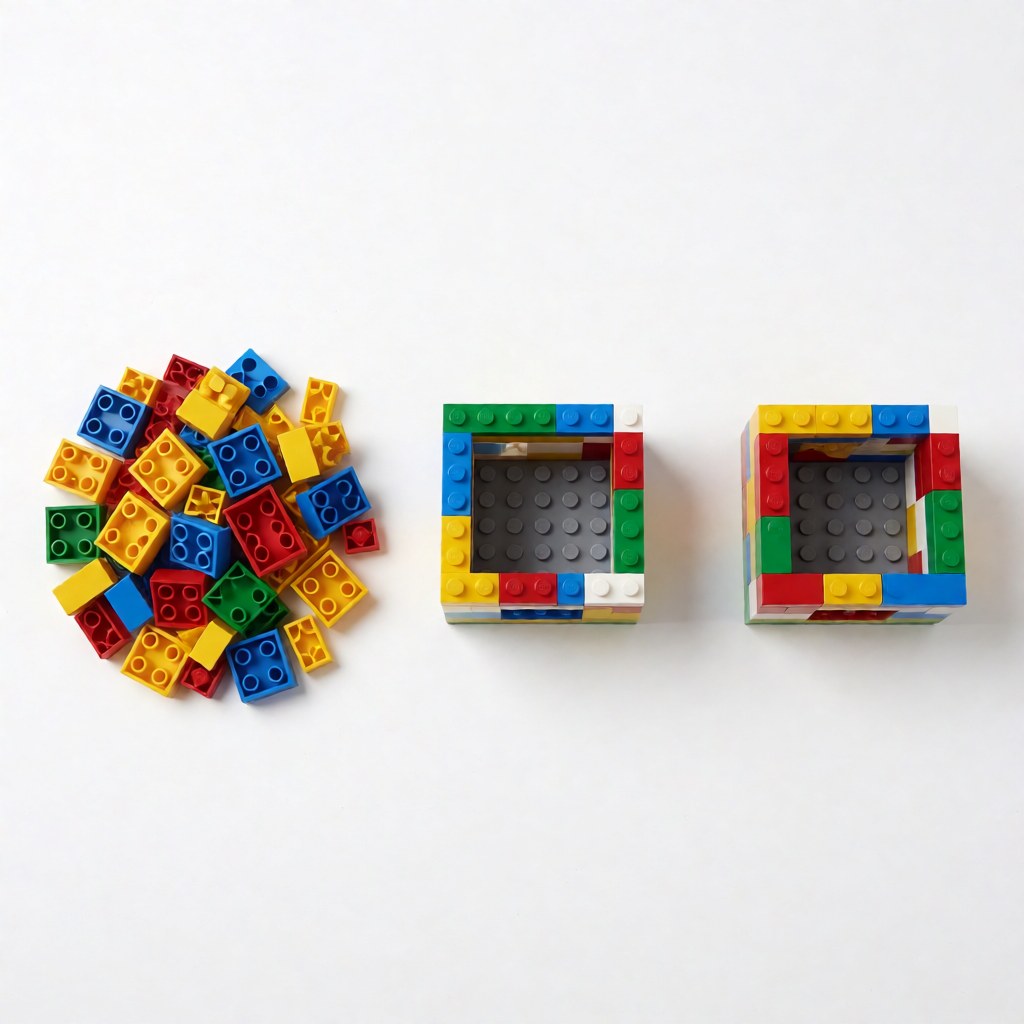
The four-step start
Step 1 — choose the plan. Browse by theme, filter to 200–500 parts, and open the last page first to confirm the finished model is what you want. Then read the parts list.
Step 2 — price the parts list. Sort the list by quantity. The top 15–20 part types usually account for most of the total, so buy those first and check the rest against your own parts. Order by design ID and colour code, never by description.
Step 3 — build in passes. Sort by part type, not by colour. Build every sub-assembly box separately before attaching it, and do not skip steps: MOC plans often hide structure inside a step you considered optional.
Step 4 — photograph and share. Photograph the finished model against a plain background from the same angles as the plan. Posting it is how you get feedback, and the feedback is usually a specific fix rather than a compliment.
Buying parts without wasting money
- Bulk by weight beats bulk by piece for standard bricks and plates. Mixed lots are the cheapest source of common parts, with the trade-off of variance.
- Buy individually for the long tail. Rare colours and specific moulds should be bought per piece, not gambled on in a lot.
- Keep one order per colour. Colour shifts between production batches, so splitting a colour-critical purchase across two orders invites a visible mismatch.
- Start your parts bin with structural elements. Plates, standard bricks, Technic pins and axles are the parts nearly every plan needs.
- Check for missing-part policies before ordering from a reseller rather than a brand's own store.
Where your money actually goes
Per-piece prices for common parts bought new, as a rough 2026 guide:
| Part | Typical price per piece (USD) | Notes |
|---|---|---|
| 1x2 brick | 0.04 – 0.09 | Cheapest standard brick |
| 2x4 brick | 0.08 – 0.18 | The reference unit |
| 1x4 plate | 0.03 – 0.06 | Buy these in bulk |
| Technic pin | 0.02 – 0.05 | Never worth buying individually |
| Slope, standard | 0.05 – 0.12 | Price rises fast with size |
| Rare colour, any part | 0.15 – 1.00+ | Where budgets break |
| Printed or exclusive part | 0.35 – 1.20 | Avoid in a first plan |
Two conclusions follow. Standard bricks, plates and pins can be bought in bulk lots at a fraction of these prices, and rare colours cannot — so the plan's colour palette matters more than its part count. A 500-part model in basic colours is consistently cheaper than a 300-part model with two discontinued colours in it.
Six checks before a long build
- Open the last page and confirm the finished model is what you want to build.
- Read the parts list and identify the top 20 part types by quantity.
- Count your own parts against those 20, and order only the gap.
- Measure your workspace. A 600-part model needs roughly a 60 cm by 40 cm build area plus tray space.
- Check the pause points. Note one or two steps where the model is stable enough to be set aside.
- Plan the photograph before you start: a plain background and two or three angles, matching the plan's presentation.
When to move on to a bigger build
Move up a band when the current one feels routine, not when it feels finished. Two signals that you are ready: you can sort a parts list of 400 pieces by type without consulting the plan, and you can spot a sub-assembly that repeats. Both mean you are spending your attention on structure rather than on searching for parts — which is exactly what a 900-part build demands.
Five cheap-part traps
- Mixed lots with off-brand content. Expect a fraction of pieces to be discoloured, chipped or non-standard. Fine for scenery, poor for a visible face.
- Bargain bulk plates that bow. Thin large plates are where low-cost tooling shows first.
- Colour names that do not match. Compare swatches, not labels; two suppliers may name the same colour differently and ship two different colours.
- Short-shipped quantities. Count high-value pieces on arrival; a rare part missing from a bag can stall a build for weeks.
- Buying the whole list at once. Price the top of the list, build the first third, then decide. Most first MOCs get adjusted once building starts.
A realistic first-project budget
| Item | Typical cost |
|---|---|
| Plan | 0 (free library) |
| Parts, 300-part model, all new | 12–22 USD |
| Parts, if you own a third already | 8–15 USD |
| Bulk basic bricks to start a bin | 25–40 USD |
| Sorting trays | 5–12 USD |
The trays are not optional in practice: sorting by part type before building cuts build time by roughly a third on a 300-part model and removes most mid-build digging.
What to do after the first build
Build one more plan from a different designer, in a different subject, at a similar part count. The second build is where techniques transfer: you will recognise a sub-assembly pattern, a corner brace or a SNOT panel before the plan explains it. Only after two or three builds is it worth modifying a plan, and only after several modifications is it worth designing from scratch.
FAQ
Q: Are free MOC plans as good as paid ones? A: Usually yes in structure, and often better in documentation, because free plans get public feedback. Paid plans earn their price when they include revision history, verified parts lists and detailed callout images.
Q: Can I build a plan entirely from cheap parts? A: Yes for structural work and scenery. For a visible face and for anything load-bearing, use a single brand with consistent clutch and colour.
Q: How many parts should my first model have? A: Between 200 and 500. Below that you will not hit a real structural decision; above that a first build tends to stall partway through.
Q: Do I need to design anything myself? A: No. Building four or five plans first is the fastest route to designing well later, because you collect solved problems instead of inventing them one at a time.
Pick a beginner plan and finish it this week — that is the whole barrier. The BrickPlan blueprint library lets you browse by theme and part count, and every plan page shows the parts used before you commit to anything.