LEGO Power Functions Guide: Motors, Batteries, Gears
Four parts make a model move: a motor for rotation, a battery box for power, a receiver or switch for control, and cables to join them. Choose the motor by load — heavy and slow needs the largest motor, light and fast needs a medium one, and tight spaces need a small one — then set the gear ratio before you build the body, because the ratio decides both speed and pulling force.
The reason people bounce off motorisation is order of operations. Gear ratios and battery placement are decided at the chassis stage; if you build a finished body first, every motor decision becomes a rebuild.
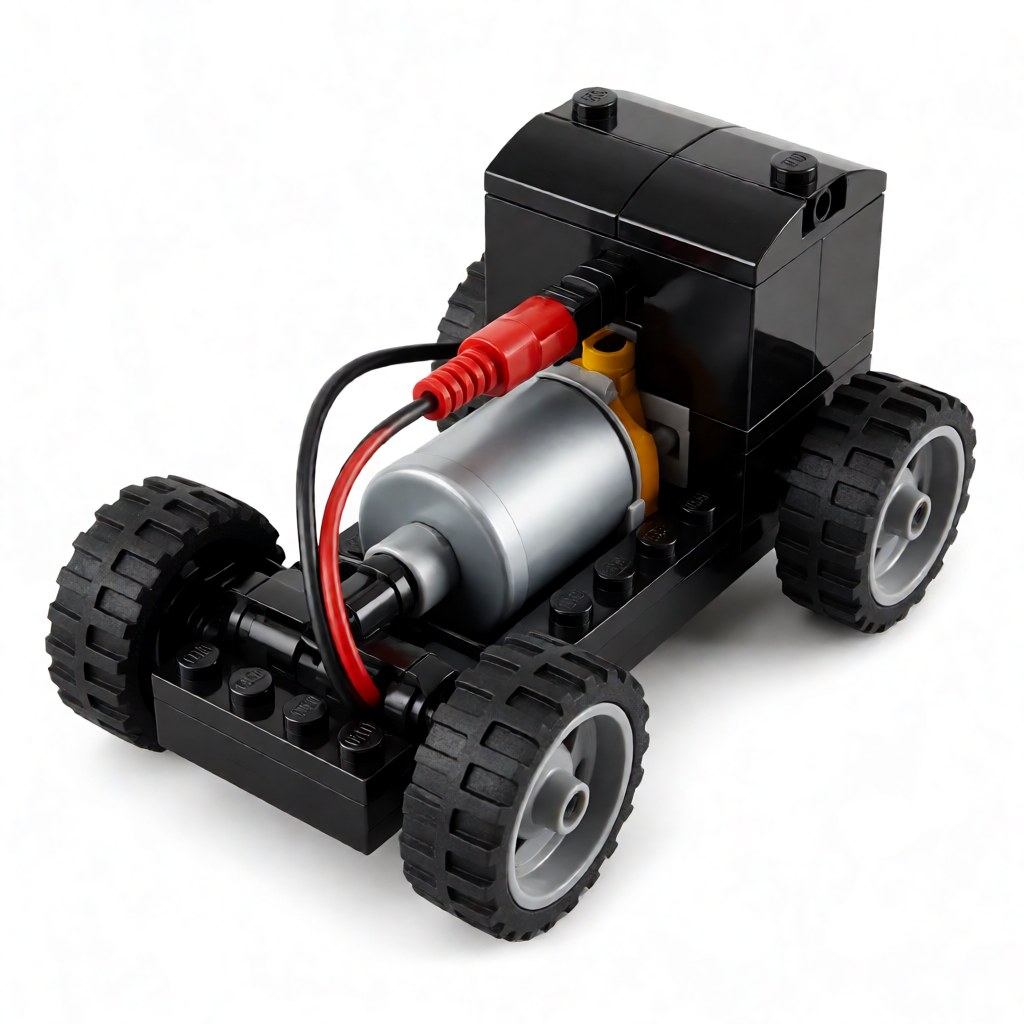
The four core parts
| Part | Job | Practical note |
|---|---|---|
| Motor | Rotates | Size sets torque and speed; you cannot fix torque later with gearing alone |
| Battery box | Supplies power | Placement affects balance far more than appearance |
| Receiver / switch | Control | Wired or wireless; wireless needs antenna clearance |
| Cables | Connect everything | Route them before the body goes on, not after |
On top of those four, the transmission parts do the real engineering: gears, cross axles, universal joints, differentials and turntables. Write out a parts list before starting a motorised build — a missing 8-tooth gear found at step 140 is a build-stopping problem, not an inconvenience.
Choosing the motor by load
Three broad motor classes cover most builds:
- Large motor. High torque, moderate speed. Drives vehicles, climbing mechanisms and anything that has to move its own weight plus a load.
- Medium motor. Smaller and faster. Ideal for fans, turntables, winches on light loads and secondary functions.
- Small motor. Compact, used inside tight mechanisms where space decides, at the cost of torque.
A simple decision rule: match the motor to the load, not to the model size. A small model with a heavy mechanism needs the large motor; a large but light model often runs perfectly on a medium one. If a build needs both speed and pulling force in the same drivetrain, add a gearbox and switch the ratio rather than trying to satisfy both with one ratio.
Servo-style motors are a separate case: they hold a fixed angle rather than spinning continuously, which is what steering mechanisms need.
Power, wiring and balance
Power supply is where most builds fail, and nearly all of it is preventable:
- Mount the battery box near the centre of mass. A heavy box at the rear makes the model nose-light and it will understeer or tip on climbs.
- Route cables along the frame and secure them. Movement rubs insulation and loosens connectors; clips or existing channels cost nothing.
- Match voltage to the motor's rating. Running a low-rated motor above its voltage for extended sessions shortens its life noticeably.
- Keep receiver antennas clear of the bodywork. Enclosed antennas lose range, sometimes dramatically, and the failure is intermittent, which makes it hard to diagnose later.
- Remove batteries for storage. Leaking cells damage the box contacts, and the damage is usually permanent.
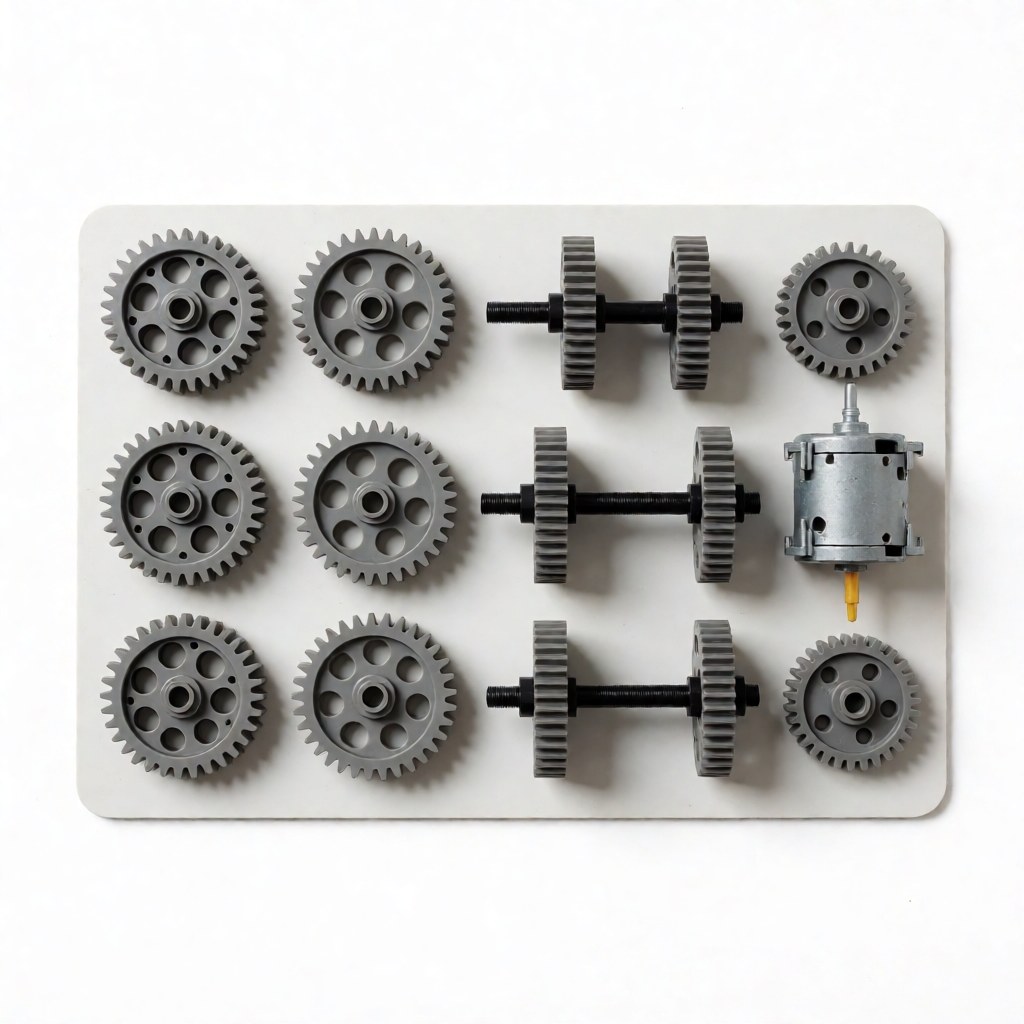
Gearing: the decision that determines everything
Three rules cover almost every transmission question:
- Mesh depth has a sweet spot. Too tight and the mechanism drains power and whines; too loose and the teeth skip under load. Aim for free rotation with no visible backlash.
- Tooth count ratio sets torque and speed. A small gear driving a large one reduces speed and multiplies torque; reversing the pair increases speed and reduces torque. If the model cannot climb, you have too much speed and too little torque — change the ratio rather than fitting a bigger motor.
- Restrain the axles axially. A gear that slides along its axle under load grinds against its neighbour. Half-width bushes and axle stops exist precisely for this.
Two ratios to know in practice: a 20-tooth driving a 12-tooth is a mild speed increase suited to a light vehicle; a 12-tooth driving a 20-tooth is the mild reduction that makes the same vehicle climb a slope. For a serious crawler, chain two reductions rather than one extreme pair, because very large ratios lose efficiency.
Steering and suspension
Steering with a servo or a small motor plus a linkage needs a steering arm whose pivot sits close to the axle line; otherwise the wheels toe in or out through the travel and the model fights itself in a straight line. A universal joint in the driving axle allows the wheel to move and steer without binding the drivetrain.
Where a model has suspension, check the whole travel range before final assembly: compress it by hand and confirm nothing in the drivetrain reaches an end stop. Suspension geometry that binds is the most common reason a finished vehicle will not drive straight.
Test before you seal it up
The routine experienced builders use, in order:
- Rotate the transmission by hand. It should turn smoothly with light resistance and no catches.
- Run the motor with the mechanism unloaded. Listen for whine and watch for wobble.
- Load it progressively. Hold the wheels lightly, then firmly, and confirm the gears do not skip.
- Test on the surface it will actually run on. Carpet, tile and gravel each demand different torque.
- Only then close the body. Almost every motorised rebuild happens because this step was skipped.
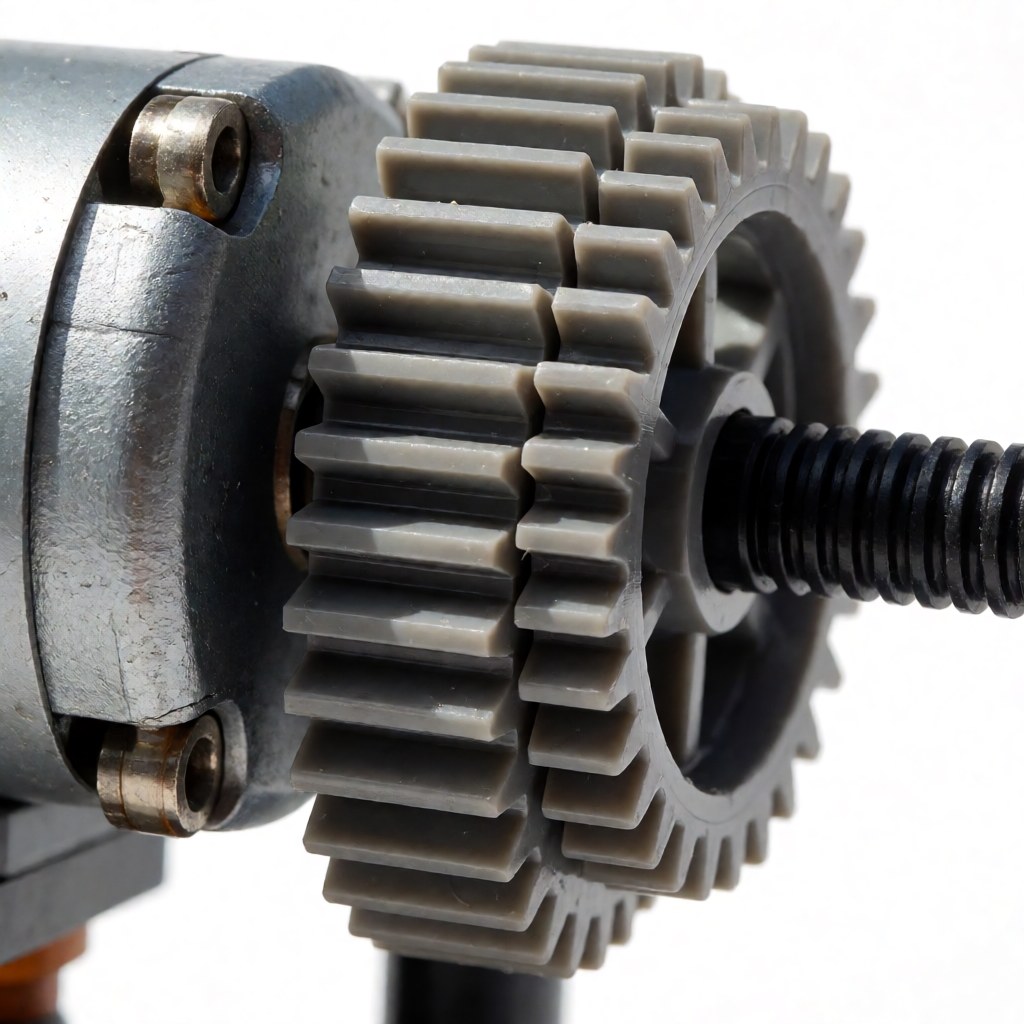
Efficiency: why small friction problems grow
A drivetrain loses energy at every mesh, and the losses compound. One poorly spaced pair of gears might cost 5% efficiency and pass unnoticed. Four of them in series, plus a binding axle, can consume more than half the motor's output — which is why a model that ran fine on the bench refuses to climb a slope on carpet.
Three checks catch nearly all of it before assembly is finished:
- Turn the whole drivetrain by hand from the output end. It should spin freely with light, even resistance. Any point that grabs is a mesh that is too tight.
- Spin each axle individually with the gears engaged. If one axle is noticeably harder to turn than its neighbours, something is misaligned or a gear is rubbing a beam.
- Look for witness marks. After five minutes of running, inspect the gear faces. Polished or scuffed patches show exactly where the friction is.
Fixing friction is always cheaper than adding torque. Halving drivetrain losses is equivalent to doubling motor power, and it costs two gears and five minutes of re-spacing.
A wiring layout that survives handling
Lay cables before the bodywork, following the frame rather than crossing open space:
- Run power from the battery box forward along one side of the chassis.
- Keep the motor cable short and direct; the shortest run is the least likely to snag.
- Leave a small service loop at each connection, long enough to unplug, short enough not to catch a wheel.
- Secure every cable at both ends with a clip or by passing it through a beam hole.
- Keep the antenna clear of the body and away from metal-heavy areas.
Cables that cross a moving joint will fail eventually, and the failure usually looks like a dead motor rather than a broken cable — which is why it takes an hour to find.
Troubleshooting
| Symptom | Likely cause | Fix |
|---|---|---|
| Motor does not turn | Flat cells or a loose connector | Test the battery box against a known-good motor |
| Speed fluctuates | Aged cells | Replace the whole set, not one cell |
| Grinding or loud whine | Mesh too tight, or a chipped tooth | Re-space the gears; inspect teeth |
| Skips under load | Mesh too loose, or too much reduction after the motor | Re-space, then move the reduction |
| Model veers to one side | Steering arm geometry, or a binding drivetrain on one side | Check both sides for equal resistance |
| Control range very short | Antenna inside the bodywork, or low cells | Expose the antenna, then replace cells |
| Gearbox gets hot | Excessive friction or over-voltage | Free the drivetrain, verify voltage |
Maintenance that doubles the lifespan
Clean the gears every few months with a soft brush; dust is abrasive and quietly wears teeth. Add a small amount of plastic-safe lubricant where axles pass through gears, not on the clutch surfaces. Check every axle stop for play and replace bent axles rather than straightening them — a bent axle wears its neighbours. Store the model without batteries and with the mechanism at rest, not under spring or gear load.
Building order for a first motorised model
Start with a simple four-wheel car and no steering. Get one motor driving one axle through a single gear pair, then add a second motor for steering, and only then consider suspension. Each stage teaches one thing: torque first, control second, geometry third. Jumping straight to a full remote-controlled model with steering and a gearbox is how motorised MOCs end up in a box half-built.
FAQ
Q: Can I motorise a model that was designed as static? A: Often yes, but only if there is room inside the chassis. Check the internal volume before buying motors, and expect to modify the frame to add a mounting point and a cable route.
Q: How long does a battery box last? A: A typical set of cells runs a light vehicle for an hour or more of continuous driving. Heavy mechanisms, extra motors and cold conditions all shorten that significantly, so plan for replaceable cells.
Q: Do I need a wireless receiver? A: Only if the model must be controlled while moving. For stationary functions — a rotating display, a lifting crane — a simple switch is cheaper, lighter and one fewer failure point.
Q: My model will not climb. Is a bigger motor the answer? A: Usually not. Change the gear ratio first: a reduction after the motor multiplies torque far more cheaply than swapping the motor, and it costs nothing but two gears.
Build the drivetrain before the body, test it loaded, and motorised models stop being a gamble. When you want a proven layout, start from a plan in the BrickPlan blueprint library and adapt its gearbox rather than designing one from scratch.