How to Build a Treehouse MOC: Trunk, Canopy and Minifigs
Short answer first: the biggest trap in a brick-built treehouse MOC is canopy collapse. Build a load-bearing technic core inside the trunk, layer the canopy with staggered, offset placement, and you can finish a tree that stands firm and holds minifigures in roughly 1,800-2,500 pieces and 8-12 hours. Mix green pieces randomly for the foliage — it looks far more natural than neat rows.
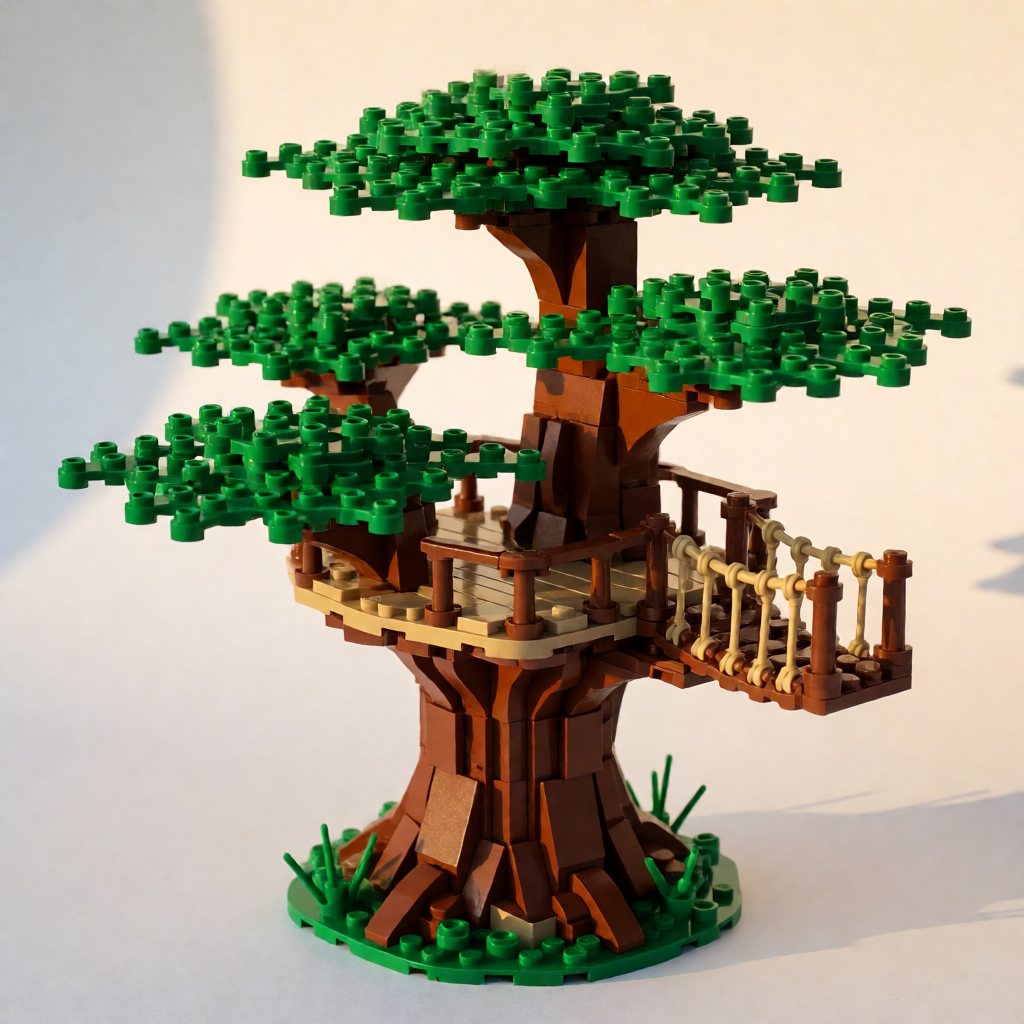
Figure 1: The finished treehouse MOC — brick trunk, three foliage tiers, and a rope bridge out to the lookout platform.
1. Build the Trunk First: Load-Bearing Is Everything
Step one: use an 8x8 baseplate as the root disc, then stack brown bricks upward in a staggered (offset) pattern. Every 6 layers, insert an 8-stud technic rod down the heart of the trunk as a load-bearing core, running all the way up to the canopy level — this is the key to a treehouse that does not fall apart. Step two: once the trunk reaches 18-20 bricks high, start splitting. Build the main fork with 2x2 bricks plus hinge pieces fanned out to both sides to make a Y shape. Step three: at the fork, build a 12x12 platform for the floor of the house, smooth it with plates, and lock it to the trunk using 1x2 technic bricks with holes. Once that platform is rock solid, everything after it is easy.
2. Build the House Body: Small Cabin, Big Details
Enclose a small wooden cabin with 10x10 walls, 6 bricks high, with a 2x2 door and two 1x2 windows; the windows use transparent pieces with brown frames. Roof it with 2x4 slope pieces laid into a 45-degree peak, mixing reddish brown and brown so it reads like a rustic cabin patched together from scrap boards. Hang a 1x1 transparent round light piece under the eaves — it looks wonderfully cozy when lit at night. The cabin itself is about 400 pieces, one of the lighter parts of the whole treehouse MOC.
3. Build the Canopy: Random Leaves Look Real
Above the platform, build a skeleton from 1x2 plates and extend it outward 3-4 layers. On each layer, scatter green slope pieces, green plates and 1x1 green round plates at random, keeping dark green to light green at roughly a 3:1 ratio. Never lay the leaves out in tidy rows — that looks like a green cake, not a tree. Finish the outermost layer with 1x1 forked plant pieces to suggest dense, leafy growth. The canopy runs about 600 green pieces in total and is the largest visual mass in the build.
4. Add Scenery and Minifigures: Give the Treehouse a Story
Lay a ring of 16x16 green baseplates under the tree as grass, then add a small pond, two small bushes and a rope ladder. The ladder alternates 1x1 plates with 1x2 plates, hanging from the platform down to the ground — it sells the scene immediately. Place 2-3 minifigures: one on the platform enjoying the view, one climbing the rope ladder, one picnicking below with a small table and two 1x1 cups, and the story writes itself. If you want lighting, budget an extra 80-120 yuan for a small LED string wound through the canopy.
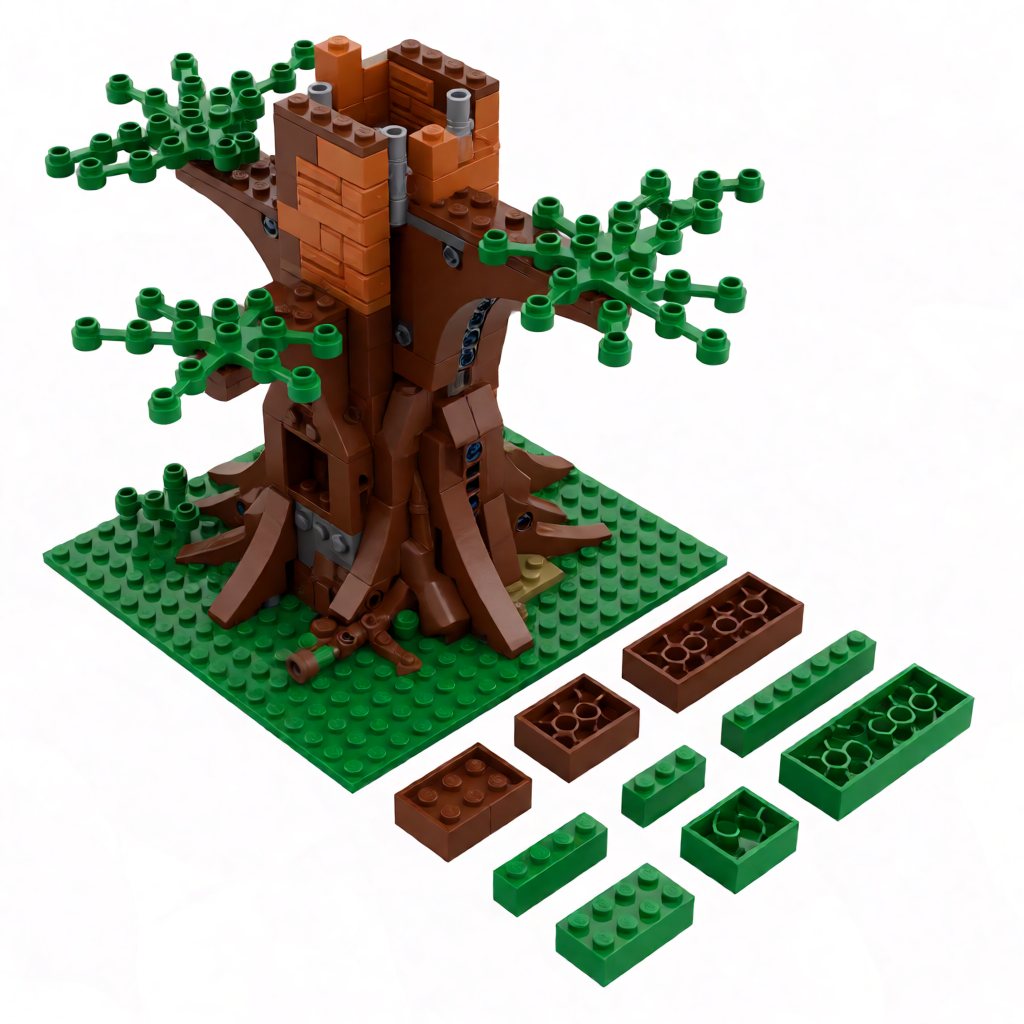
Figure 2: Build order up to the platform — trunk first, platform second, foliage last so you can still reach the join.
5. Reinforce and Display: The Finished Model Should Move
When everything is built, check vertically from the roots to the canopy and add 1x1 bricks under any spot that clearly overhangs without support. Add a 6-stud crossbar as a diagonal brace at the largest canopy fork so the branches do not sag after long display. Built this way, the treehouse can be lifted and moved without shattering, and it photographs beautifully in a display cabinet under warm light.
The whole treehouse MOC comes down to one sentence: a technic load-bearing core plus a randomly mixed canopy. Nail those two and you are most of the way there. Searching "treehouse" on brickplan.cn turns up more than 10 instruction sets; pick one in the region of 2,000 pieces for the best value.
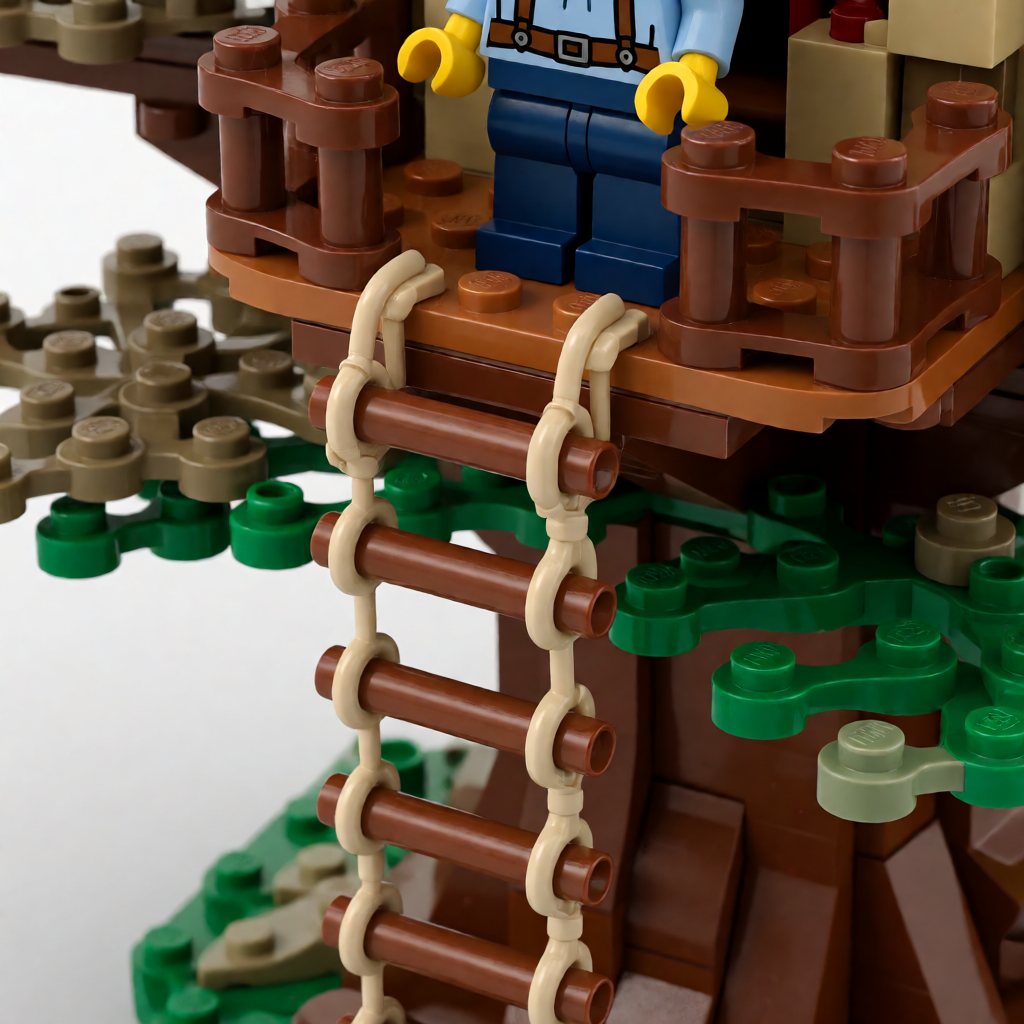
Figure 3: Railing and rope ladder detail — the small pieces that sell the scale.
Related reading: whale MOC guide · windmill MOC guide
FAQ
Q: How do I build a brick treehouse MOC so it does not collapse? A: Insert a long technic rod as a load-bearing core every 6 layers inside the trunk, lock the house platform to the trunk with technic bricks with holes, and add a diagonal brace at the canopy fork. Do those three things and the whole tree stays stable.
Q: How many pieces and how much money does a treehouse MOC need? A: A typical treehouse runs about 1,800-2,500 pieces, a budget of 500-900 yuan, and 8-12 hours of building; with lighting it stays under about 1,500 yuan. Beginners get the best deal choosing a plan in the 2,000-piece range.
Q: How do I make the canopy leaves look natural? A: Mix dark and light green at a 3:1 ratio at random, alternate slope pieces, plates and round plates, and add forked plant pieces on the outer layer. Never line them up neatly — neat looks like a cake, not a tree.
Q: How many minifigure scenes can a treehouse MOC hold? A: Usually 2-3: one on the platform, one on the rope ladder, one picnicking under the tree. Add a small table, cups and a picnic blanket, hang a transparent light piece, and the story appears instantly.
Q: Is a treehouse MOC harder than a normal house MOC? A: Yes — it adds two major challenges, trunk load-bearing and canopy construction, with roughly 40% more pieces and 3-4 extra hours of work. Beginners should build a normal small house first, then take on the treehouse.