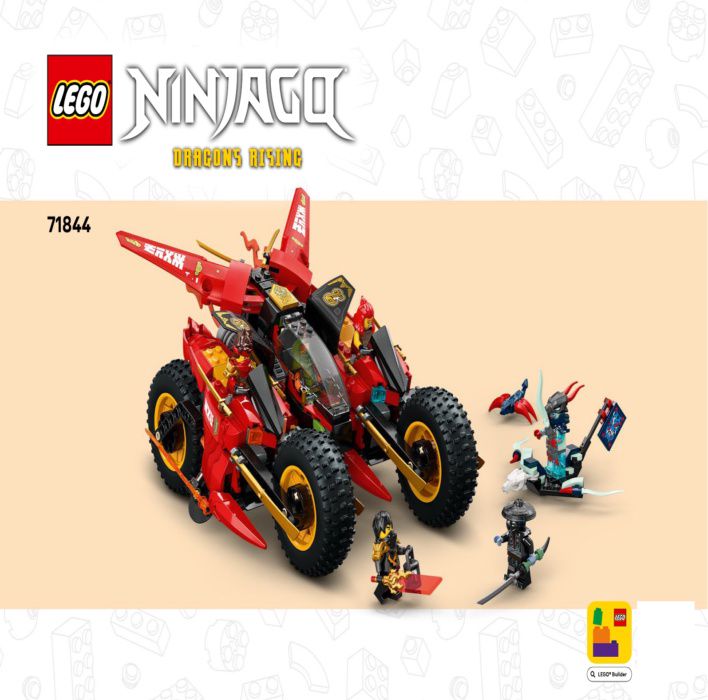
Ninja Combo Vehicle (LEGO 71844)
Author: lego_official
LEGO official set 71844 Ninja Combo Vehicle building instructions. Series: LEGO® NINJAGO®. Piece count: 561. Release year: 2025. Recommended age: 8+. Total 1 instruction manual.
- Brand
- LEGO
- Set number
- 71844
- Series
- NINJAGO
- Category
- Fantasy
- Pieces
- 561
- Difficulty
- 3 / 5
- Released
- 2025
- Instruction pages
- 133 pages
About this set
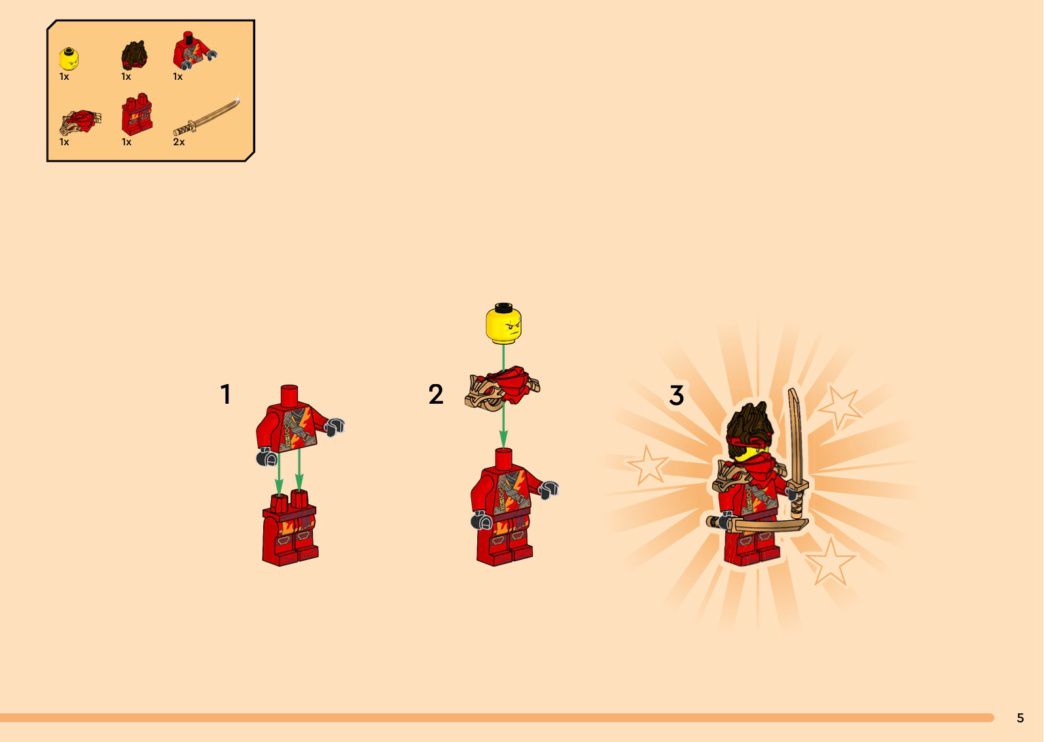
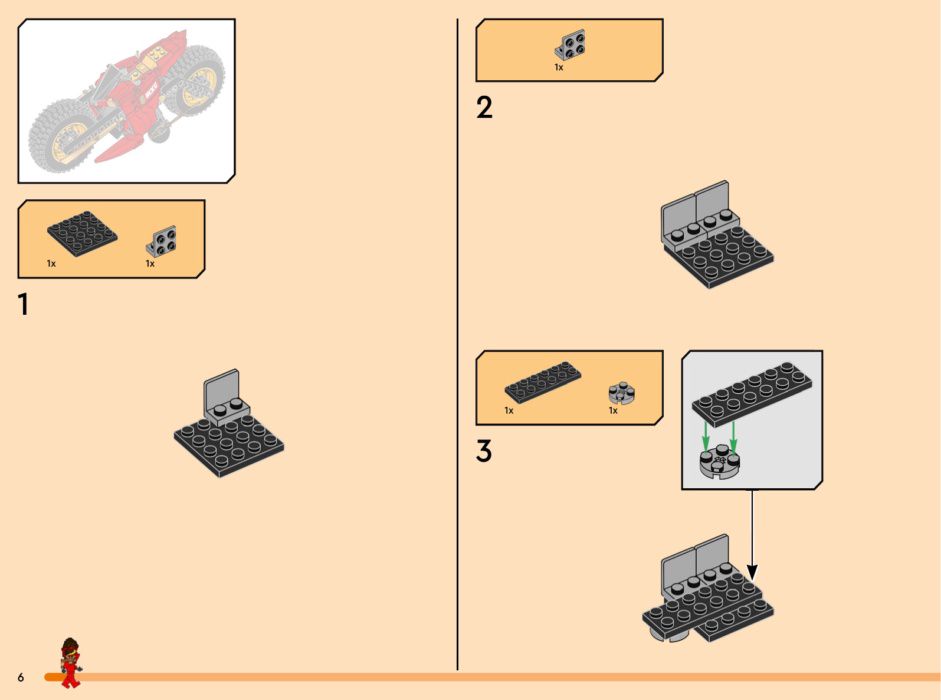
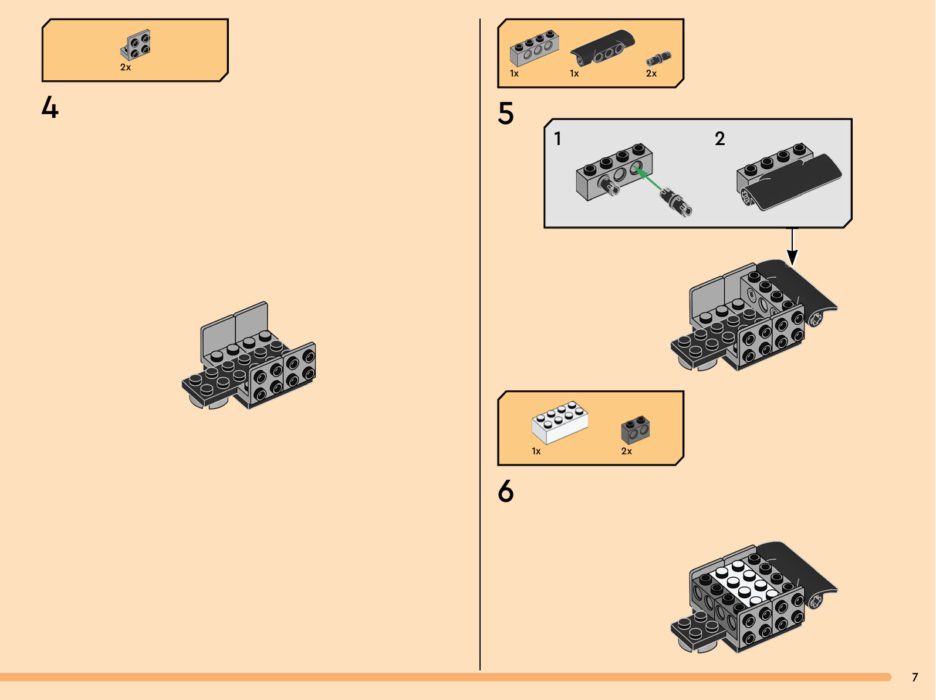
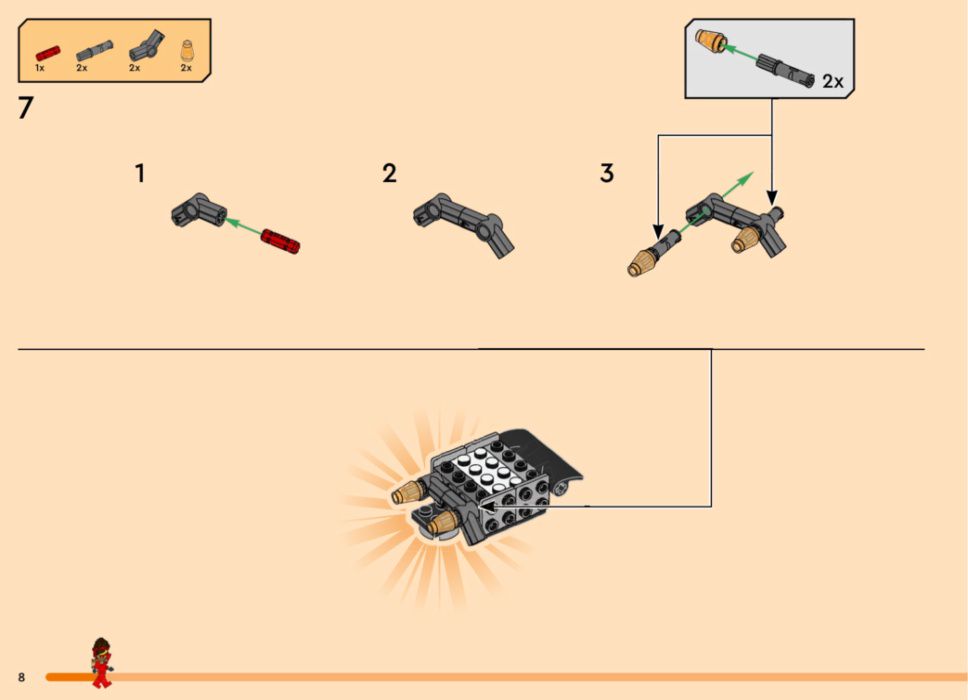
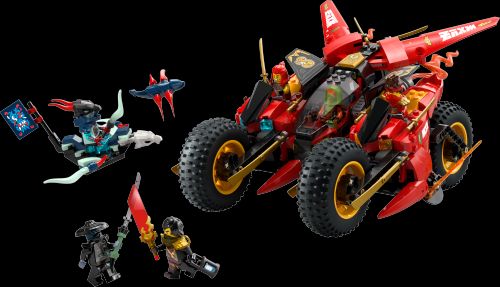
LEGO 71844, a NINJAGO set from the Dragons Rising line, packs 561 pieces at a 3/5 difficulty. The build is a four-wheeled off-road war chariot in red, gold and black, with gold parts trimming the armour edges and black forming the chassis and frame. The large off-road tyres have chunky treads that feel grippy when rolled, and a transparent cockpit canopy lets you see the minifigure seated inside. The set also includes minifigures and a dragon-shaped flyer that works as a standalone model or alongside the chariot. Start with the chassis and wheel mounts, then layer on the body armour and gold details, and finish with the canopy and flyer; aligning the big tyres on their axles takes care, and sorting plates by colour speeds things up. At 3/5 this is a relaxed build for NINJAGO fans who like off-road vehicles, the red-gold-black scheme, or want minifigures and a flyer in one box.
- Category: Fantasy
- Difficulty: 3 / 5
- Parts: 561
- Brand: LEGO
- Set number: 71844
- Views: 12
- Likes: 0
Instruction pages