Brick Building Basics: From Flat Plates to SNOT
Building well comes down to four things: a flat, braced foundation; staggered joints between layers; a corner that transfers load in both directions; and SNOT when a surface has to look smooth. Learn those four and most "why does this look off?" problems disappear. Everything below works with parts you already own — no exotic moulds required.
If your models wobble, bow, or look lumpy, the cause is almost always structural rather than artistic. Work through the layers in order, and measure in studs rather than by eye.
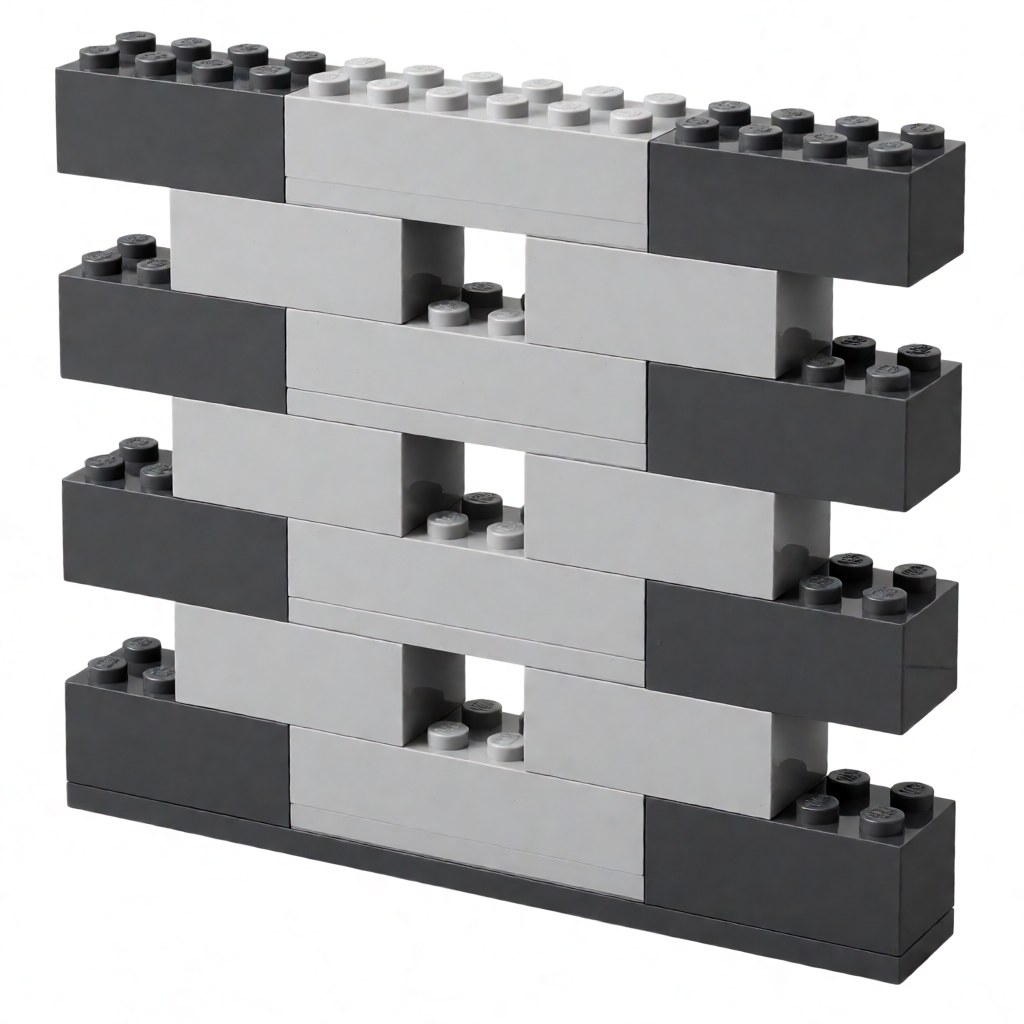
First, understand what is actually holding your model together
Three numbers explain almost every structural decision in brick building:
| Measurement | Value | Why it matters |
|---|---|---|
| Stud pitch | 8 mm | Everything is sized in multiples of this |
| Plate height | 3.2 mm | The smallest vertical step you can build |
| Brick height | 9.6 mm | Exactly three plates |
| 2x4 brick footprint | 16 x 32 mm | The reference unit for estimating a build |
Two consequences follow. First, vertical increments come in threes: a brick is three plates, so any design that mixes bricks and plates works on a 3-plate grid. Second, horizontal alignment is exact: studs sit on an 8 mm grid, which is why offsetting a brick by "half a stud" is not possible with standard bricks — you need a jumper plate (a 1x2 plate with a single centre stud, design ID 87580) or an SNOT bracket.
Friction and clutch do the actual work. There is no glue: the studs are slightly oversize relative to the tubes and anti-studs they enter, and the resulting interference creates the grip. This matters because clutch varies between brands and between mould generations, which is why a mixed-brand wall can feel inconsistent — some joints tight, some loose — even when every part measures correctly.
Layer 0: get the foundation flat and braced
Almost every model begins as a flat layer: a building's floor, a vehicle's chassis, a scene's ground. Three arrangements, in rising order of strength:
- Aligned. Every brick points the same way. Fastest and weakest; acceptable for a small test pad or a temporary mockup.
- Staggered. Each brick is offset half a stud from its neighbour so vertical joints do not line up. You need jumper plates for exact half-stud offsets, or a mix of 1x2, 1x3 and 1x4 bricks to produce the stagger naturally.
- Rotated / interlocked. Two layers rotated 90 degrees relative to each other. Strongest flat construction for the part count, because no seam runs continuously in either direction.
Brace the flat layer from below and the entire build benefits:
- Cross bracing. A 16x16 baseplate is floppy in the middle until you add two 2x16 plates underneath, rotated 90 degrees to each other. It is a two-minute change, it costs eight parts, and it removes the sag you would otherwise blame on the bricks.
- Perimeter framing. Run a band of bricks around the edge of the base. Edge containment stops a plate span from bowing upward at the centre.
- Multi-baseplate joins. When you join two baseplates, bridge the seam with long plates spanning both, then add reinforcement underneath. A butt joint with no bridge will open under handling.
Rule of thumb for the foundation: if you can flex it by hand before you build upward, it will bow visibly once the model above it starts to carry weight.
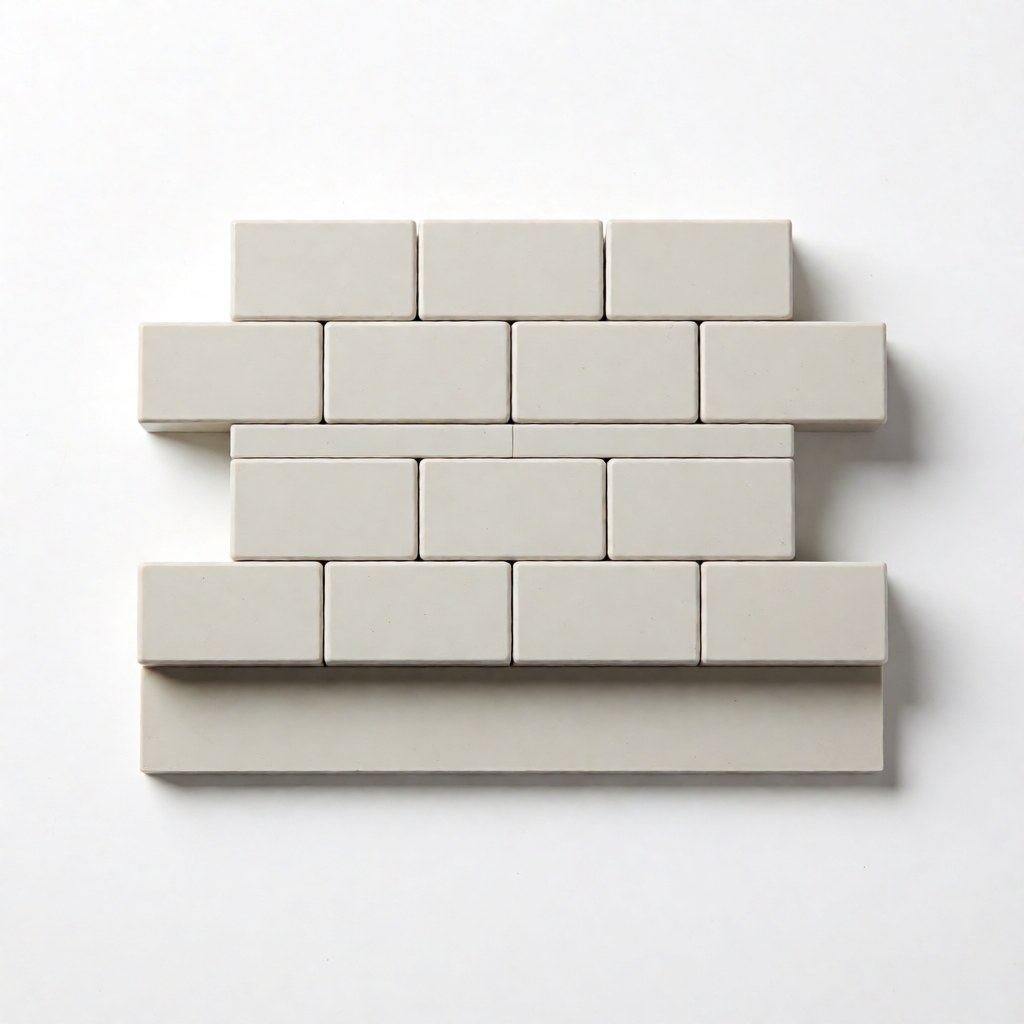
Going 3D: stacking rules that stop your walls separating
Stack bricks straight up for columns and walls, and then apply the rule that does most of the work.
The three-course rule: vertical joints between bricks must not sit directly on top of each other. In the ideal wall, the pattern repeats every three courses — course 1 and course 3 share joint positions, and course 2 sits exactly between them. Force then travels through friction across the whole wall instead of concentrating on one continuous seam.
Practical consequences:
- A wall of stacked bricks directly on top of one another has a single continuous fault line. Tap it and it opens.
- Staggering two courses already fixes most of this. Three is structurally better and looks the same from outside.
- For walls that will be lifted, run a long brick (2x6, 2x8) across several joints every few courses. Long bricks are the cheapest reinforcement available.
Columns. A column narrower than 2x2 will flex under load. Build columns 2x2 or wider, and where a column meets a floor, spread the load with a plate wider than the column. This is the standard fix for models that lean after a week on the shelf.
Corners. A corner is where a wall changes direction, and the weakest point in most beginner models. Switch direction on a 2x2 brick, or bridge both directions with a 2x4. A 2x4 across a 90-degree turn does roughly twice the work of two separate 1x2 bricks for the same part count. A faceted corner made of three 1x2 bricks looks sharper but transfers less load.
Symmetry. Build the centre, then work outward one layer at a time, checking both sides as you go. Building left and right in parallel and comparing only at the end is how models end up visibly lopsided at step 60, when fixing it means dismantling a third of the build.
Interlocking: the mortar of brick building
Interlocking is what turns a pile of bricks into one object. Three levels, all worth using:
- Horizontal. Bricks in the same layer connect to each other, so a layer behaves as a plate rather than a row of loose parts.
- Vertical. Staggered joints between layers, per the three-course rule above.
- Cross. Both at once, so force cannot travel along a single seam in either axis. This is what makes a wall feel solid rather than spongy.
For maximum rigidity at low part cost, combine three techniques: staggered courses, long bricks crossing multiple joints every few layers, and a perimeter frame that ties the outside edges together.
SNOT: when the surface has to look smooth
SNOT stands for Studs Not On Top — bricks turned so their studs face sideways or downward. A normal brick wall shows studs on every exposed surface. SNOT hides them, which is the difference between "a brick model" and "a model built from bricks".
Four parts cover most SNOT jobs:
| Part | Design ID | What it does |
|---|---|---|
| 1x1 bracket | 7919 / 36841 | Studs on one face, a recessed socket on another |
| 1x2 reverse brick | 11253 | Studs on the side instead of the top |
| Headlight brick | 4070 | Recessed stud on one face — the classic half-stud offset tool |
| 2x2 turntable / swivel | 3679 | Rotates the build 90 degrees to change stud direction |
The basic sequence is three steps: place a reverse brick on a normal brick; attach plates to the sideways studs; keep building on those plates. The wall now presents a clean face outward while remaining fully structural inside.
Two SNOT details that catch beginners:
- The offset is exact, not approximate. A bracket or headlight brick shifts the following geometry by one plate height (3.2 mm) or by half a stud, which is why SNOT is also the tool for aligning features that a plain brick wall cannot align.
- SNOT panels are usually removable. If you build a smooth face as a separate panel and attach it at the end with brackets, you can open the model later for repairs. Detailing a fixed face usually means dismantling to get inside.
Structures worth practising
Cantilevers. Each course may extend outward by roughly a third to a half of a brick's depth. In practice, with 9.6 mm courses, that is about 3–5 mm per course, so a 30 mm overhang needs six to eight stepped courses or a hidden support. Friction will hold a short overhang for years; a long one will creep downward month by month. Add a hidden vertical support or a Technic beam inside the structure for anything over about 40 mm.
Arches and curves. Three approaches, in increasing cost: step small bricks one stud at a time for a soft arc; use hinge bricks or plates for a faceted arch; buy dedicated curved slopes for a true curve. Approximating a circle with a polygon works better than most beginners expect — a hexagon formed from six 2x2 bricks reads as round at arm's length, and an octagon reads as round close up.
Spans and holes. When you need a window or doorway, frame the opening on all four sides with a continuous ring of parts. An opening framed only on three sides concentrates stress at the unframed corner, and that is where the model cracks.
Choosing techniques for the model in front of you
| Model type | Prioritise | Deprioritise |
|---|---|---|
| Architecture | Interlocking, corners, SNOT facades | Cantilevers |
| Vehicles | Symmetry, cantilevers, curved panels | Deep interior framing |
| Mecha | Ball joints, load spreading, hinged panels | Large flat spans |
| Scenes / dioramas | Flat foundations, multi-baseplate joins | Weight-bearing columns |
Then adjust for your inventory: with plenty of parts, use multi-layer interlock and a hidden frame; with a limited supply, stick to staggered courses and long bricks, which give the most rigidity per part.
Five beginner mistakes and the fix for each
- Continuous seams. Fix: stagger every layer, no exceptions.
- Unbraced floor. Fix: cross-brace underneath before building upward.
- Narrow columns under load. Fix: widen to 2x2 minimum and spread the load with a plate.
- Visible studs on a finished face. Fix: plan SNOT before locking the layer, not after.
- Detailing before the structure is proven. Fix: block out the mass, lift and shake it, then detail.
A four-session practice plan
- Session 1. Build a 16x16 flat layer three ways (aligned, staggered, rotated) and try to flex each. You will feel the difference immediately.
- Session 2. Build a wall 12 courses high with staggered joints, then a second wall with stacked joints. Tap both.
- Session 3. Build the same corner two ways: two 1x2 bricks and one bridging 2x4. Lift both.
- Session 4. Build a small facade with SNOT: a normal face, then a smooth panel attached with brackets.
FAQ
Q: How thick does a wall need to be to stay rigid? A: One brick (three plates) is enough for display models up to about 30 cm tall if you stagger the joints and brace the corners. Go to two bricks wide for anything load-bearing or frequently handled.
Q: Which is stronger, a plate layer or a brick layer? A: Plates are thinner and stiffer per gram, so they resist bending better. Bricks are better in compression. Use plates for flat spans and bricks for walls and columns.
Q: Do I need to buy special parts for SNOT? A: No. Reverse bricks and brackets appear in any set with a detailed facade. If you own none, turn a 1x2 plate sideways into a recessed stud for a similar effect.
Q: Why does my model look worse than the instructions suggest? A: Nearly always visible studs, unmatched joints and an unbraced top layer. Check those three before changing the design.
Practise the four basics on something small. Pick a beginner plan from the BrickPlan blueprint library and build it twice — the second pass is where the techniques stick.