Beginner Brick Building Guide: Your First Model From Scratch
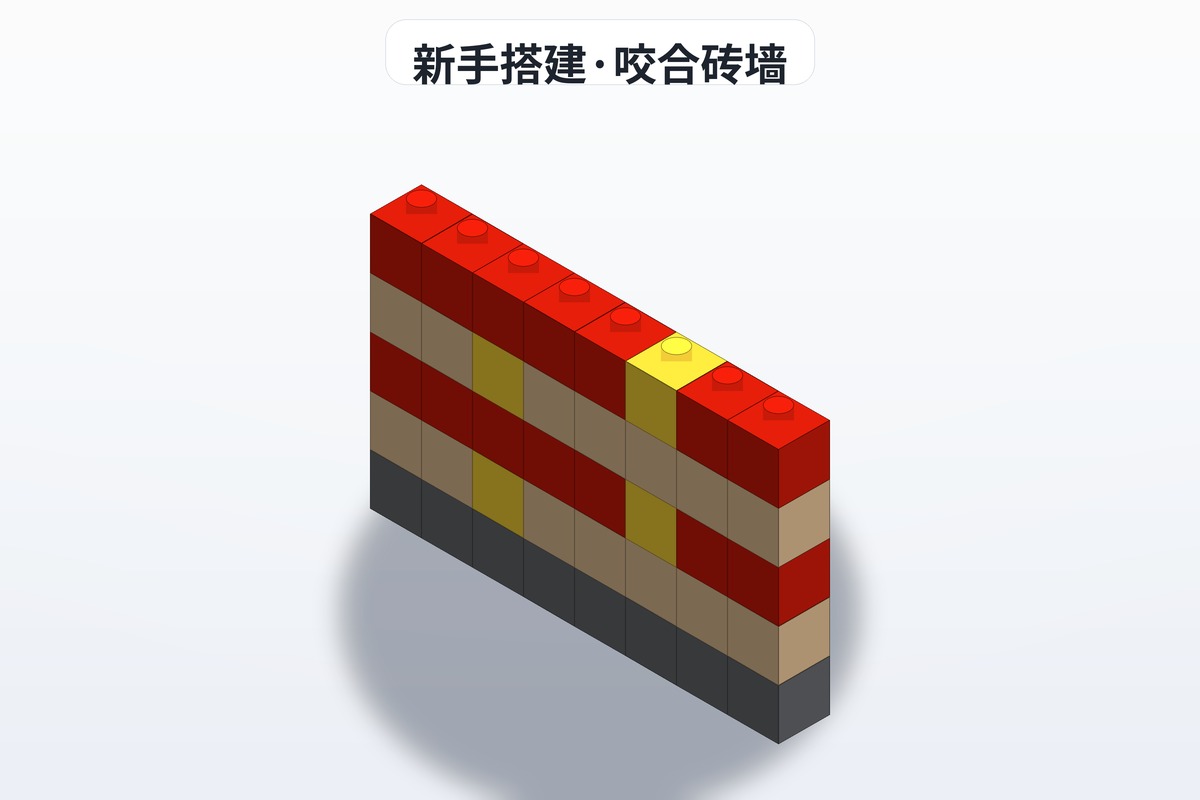
Maybe you have never touched a brick, or you have only put together one or two sets. This beginner brick building guide is written for exactly that situation. Building does not require talent or prior experience — patience is enough. The six steps below walk you through preparation, sorting, reading instructions, building, finishing, and what to try next, all the way to your first finished model.
Step 1: Preparation — What Do You Need?
1.1 Choosing the Right Set
Your first move is not to start building, but to pick the right set. A few suggestions:
Good starter sets:
- Small scenes: flower shops, cafés, small stores — usually 300-600 parts and finishable in 2-3 hours
- Vehicles: small cars and motorcycles, compact in structure and great for learning symmetrical building
- Animals: small animal models with few parts and a quick sense of achievement
What to avoid:
- Do not start with a giant set of a thousand-plus parts — you are likely to abandon it halfway
- Do not chase the cheapest unbranded bricks — loose tolerances make the build feel bad
- Start with well-known brands such as LEGO, Qiji or Double Eagle
1.2 Tools to Prepare
You do not need much, but a few items make the process much smoother:
- Brick separator: included with almost every brand's sets, used to pry apart bricks you placed wrong
- Sorting trays: household storage boxes work fine for separating parts
- A flat table: building needs a level surface so parts do not roll away
1.3 Get to Know the Basic Parts
Before you build, spend a few minutes learning the parts you will use:
- Brick: standard-height block, the most basic element
- Plate: about one third of a brick's height, used for fine adjustments
- Slope: a brick with an angled face, used for roofs and ramps
- Special pieces: wheels, windows, doors, plants and so on, which add detail to a model
Step 2: Sorting Parts — The Key Step Before You Build
Many beginners tear open the bag and start building immediately, which is the easiest way to make mistakes. The most important habit in this beginner brick building guide: sort first, build second.
2.1 Sorting Methods
- By color: keep parts of the same color together
- By type: bricks in one group, plates in another, special pieces in a third
- By size: large parts together, small parts together
2.2 Recommended Sorting Tools
- Small zip bags from the supermarket (5-10 of them)
- The compartment trays from a mooncake or chocolate box
- A dedicated brick storage box (search "brick sorting box" on Taobao)
The 10-15 minutes you spend sorting will save you several times that during the build.
Step 3: Reading the Instructions — The Bridge From Parts to Model
3.1 How Instructions Are Structured
Brick instructions usually contain these parts:
- Parts list: every part type you need and how many of each
- Step sequence: the build broken down into individual steps
- Step diagrams: a detailed drawing of each step, marking where the new parts go
3.2 Reading Tips
- Build in order: do not skip steps; the part count for each step was worked out during design
- New parts are marked: instructions usually highlight the parts added in the current step
- Direction cues: watch the arrows and dotted lines, which show how a part is oriented
- Symmetry checks: halfway through, check whether the left and right sides match
If you are working from MOC instructions downloaded from brickplan.cn, the same method applies. MOC instructions usually pack more into each step than official sets, so read every step more carefully.
Step 4: The Build — From First Part to Finished Model
4.1 Building the Base
Take a small house as an example. Each stage has its own points to watch.
Step 1: Lay the baseplate
- Place the baseplate flat on the table
- Check that all four corners sit fully against the tabletop
- If the baseplate is warped, bend it gently in the opposite direction a few times
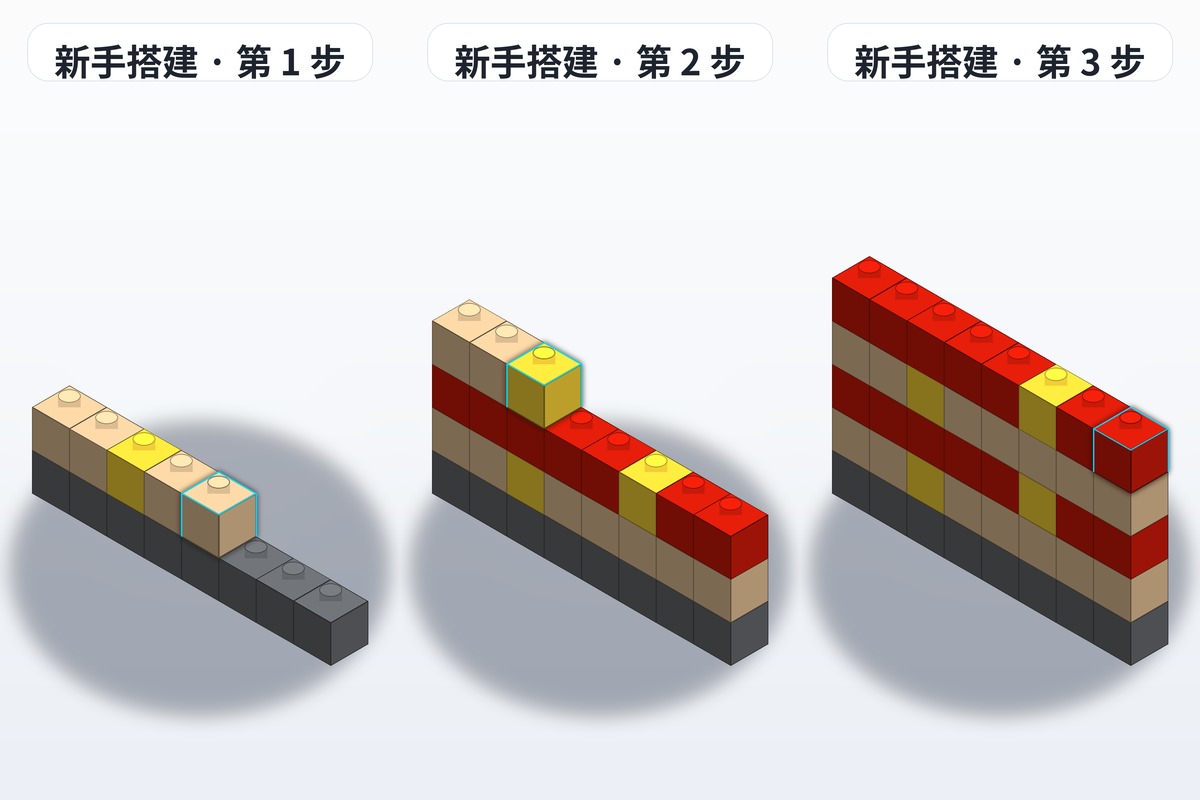
Step 2: Build the walls
- Start at a corner and work toward the middle
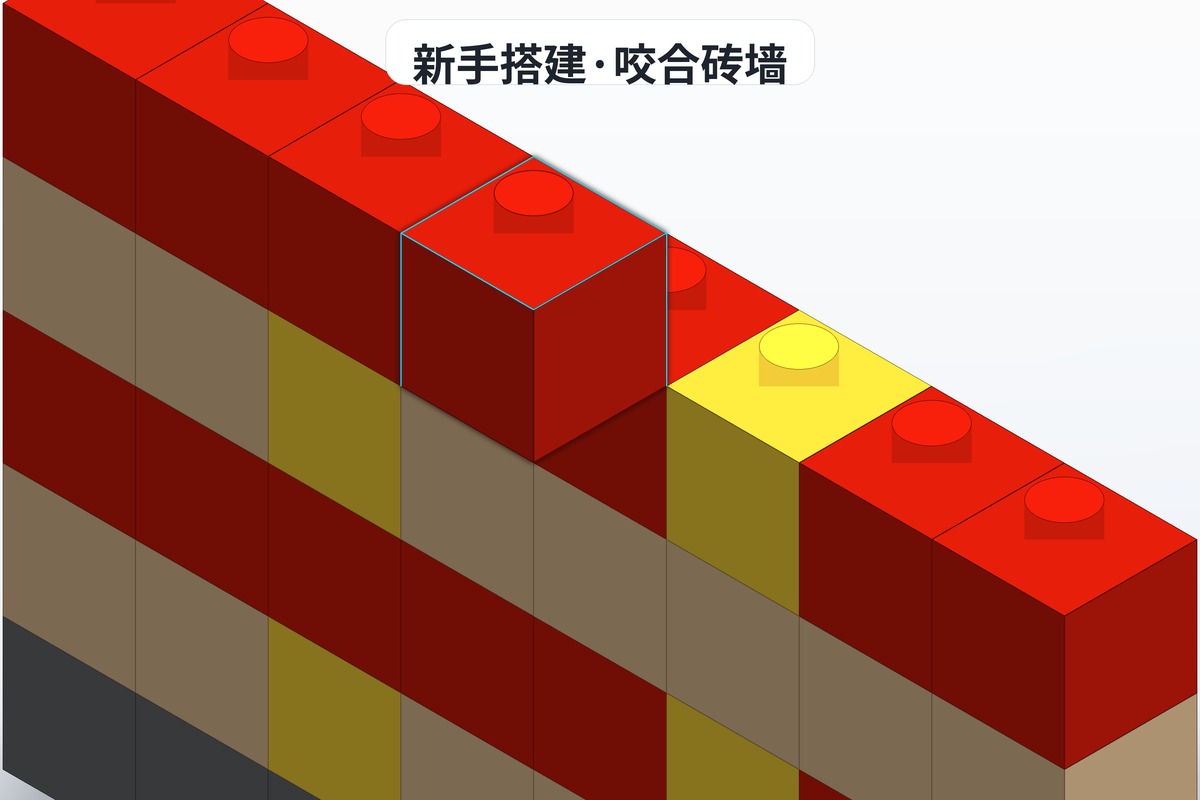
- Stagger the seams (offset interlocking): do not line up the joints of one layer with the layer below
- After each layer, press down lightly by hand so the bricks are fully seated
Step 3: Build the roof
- If you are using slopes, start from the lowest point
- Watch the orientation of the slopes — the angled face should point outward
- Add a few plates where the roof meets the walls to close any gaps
Step 4: Add details
- Windows, doors, a chimney, a garden
- This is the most fun stage, and you can improvise freely
4.2 Common Problems and Fixes
The parts will not press together?
- Check that the part is facing the right way
- Press straight down from directly above
- Rest the part on the table and use the table's resistance to push it home
You built something wrong — how do you take it apart?
- Use a brick separator: slot it into the gap under the brick and lever it up
- For small parts you can gently bite them loose (but use this rarely)
- Check removed parts for distortion and do not reuse any that are deformed
You cannot follow the instructions?
- Look at the diagram from a different angle — sometimes it is a viewpoint problem
- Compare the current step with the previous one and find what changed
- Ask in the brickplan.cn community; plenty of helpful builders will answer
Step 5: Finishing — Photograph and Share
5.1 Showing Off Your Model
Once your first model is done, take a few good photos to remember it:
- Natural light: daylight by a window is the best light source
- Plain background: white paper or light-colored cloth makes the model stand out
- Multiple angles: one shot from the front, one from the side, one at 45 degrees
- Detail close-ups: photograph a few interesting details
5.2 Share With the Community
One of the great joys of brick building is sharing. You can post your photos to:
- The brickplan.cn community, to swap experience with other builders
- Brick hobby WeChat or QQ groups
- Social platforms such as Xiaohongshu and Douyin
Step 6: What's Next — Leveling Up
After finishing your first model, you may want a bigger challenge. Here are some directions:
6.1 Try Larger Sets
Start with sets of 500-800 parts, then work up to large sets of 1000+ parts. Every set teaches you a new building technique.
6.2 Get Into MOC Building
MOC (My Own Creation) is the advanced side of the hobby. You can start by:
- Downloading other builders' MOC instructions from brickplan.cn and building them
- Modifying official sets to add your own creative touches
- Learning brick design software such as Stud.io and designing your own models
6.3 Build a Parts Library
As you gain experience you will start accumulating parts. Some advice:
- Disassemble sets you no longer love and move the parts into your library
- Store by type and color
- Watch the loose-parts market from Chinese brick brands, which offers good value
Wrapping Up
This beginner brick building guide has taken you from preparation through to a finished model. The key to brick building is patience and care — do not rush, and enjoy each step. Remember that every master builder started with a first model.
Stop reading tutorials and open that first box. If you get stuck while building, or want instructions that suit your taste better, brickplan.cn has a large library of them and a community of builders who are happy to talk.