LEGO Compatible Bricks: Compatibility Explained
Compatible means the geometry matches: an 8 mm stud pitch, a 9.6 mm brick height, a 3.2 mm plate thickness, and studs sized to grip the tubes below by interference fit. When those match, parts from different makers click together reliably. What does not match is clutch force, colour, surface finish and flatness — so "compatible" is a statement about fit, not about quality.
That distinction decides how you should use alternative parts: freely for structure and scenery, carefully for visible faces, and never as an assumption of interchangeability for electronics or printed elements.
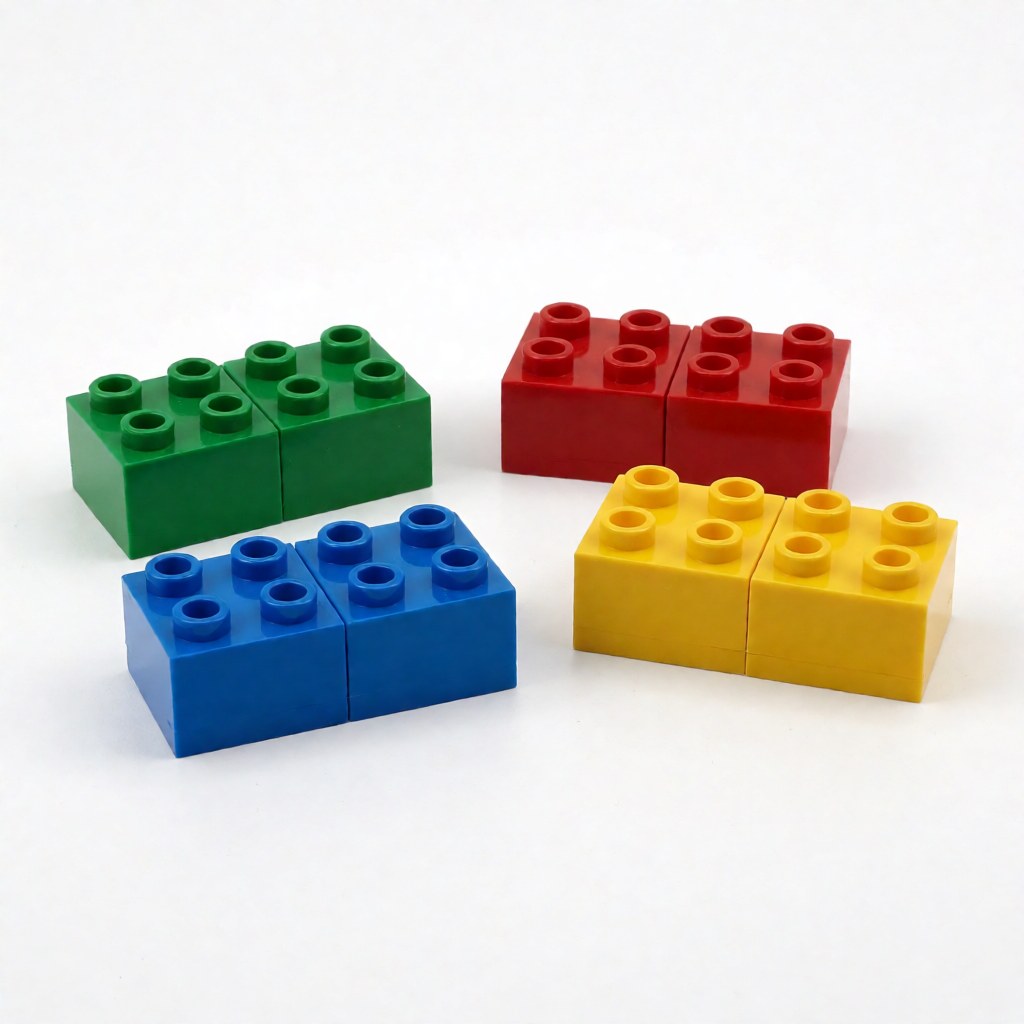
The dimensions that define compatibility
| Measurement | Value | Why it matters |
|---|---|---|
| Stud pitch | 8 mm | Every horizontal offset is a multiple of this |
| Plate height | 3.2 mm | The smallest vertical step |
| Brick height | 9.6 mm | Exactly three plates |
| Stud diameter | Slightly oversize relative to the tube | Creates the interference fit we call clutch |
| 2x4 brick footprint | 16 x 32 mm | The reference unit for estimating scale |
Grip comes from interference, not from any locking feature. Studs are marginally larger than the tubes and anti-studs they enter, and the plastic's slight elasticity provides the friction. That is why clutch is the first property to vary between manufacturers: the geometry can match to a fraction of a millimetre while the interference sits at the tight or loose end of the tolerance band.
Checks you can make with a ruler rather than a caliper: a 2x4 brick measures 16 mm by 32 mm across its stud centres on any compatible brand, and a stack of three plates should equal the height of one brick. If a brand fails either of those, it is not compatible in the sense this article means, regardless of what the packaging says.
What varies between brands
- Clutch force. The most noticeable difference. Too tight and disassembly becomes a struggle; too loose and a wall separates under handling. Both extremes exist in the alternative market.
- Colour. Nominally identical colours differ visibly between makers, and between production batches of the same maker. Daylight comparison is the only honest test.
- Surface finish and moulding marks. Alternative parts often carry a slightly rougher edge or a more visible ejector mark. Invisible on a stud top, obvious on a large flat face.
- Flatness. Thin large plates are where low-cost tooling shows first. A bowed 6x8 plate will bend whatever sits on it.
- Tube design under the brick. Variations here change how a part feels on a stud and, occasionally, how it seats in a tight assembly.
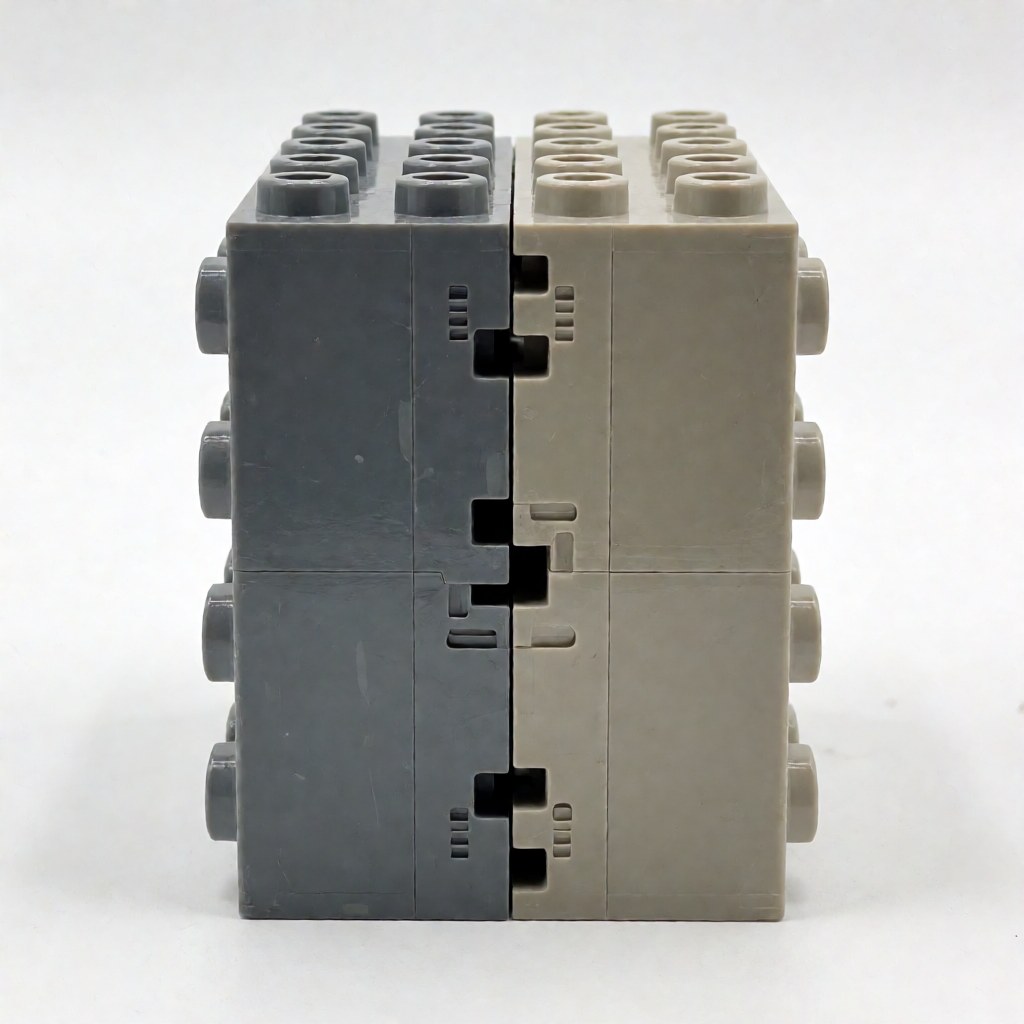
Which part categories interchange
| Part category | Interchange quality | Notes |
|---|---|---|
| Standard bricks and plates | Excellent | The core of compatibility |
| Slopes, tiles, curved parts | Very good | Check finish on visible faces |
| Technic beams, pins, axles | Very good | Friction pins vary more than beams |
| Gears and drivetrain parts | Good | Mesh quality varies; test before building a gearbox |
| Brackets and SNOT elements | Good | Slight geometry differences can change offsets |
| Minifigure parts | Variable | Torso and leg tolerances differ noticeably |
| Printed elements | Not interchangeable | Print design and alignment are maker-specific |
| Motorised and electronic parts | Assume incompatible | Connectors and protocols are proprietary |
| Baseplates | Usually good | Thickness variation affects large flat builds |
Two categories deserve emphasis. Printed parts are design-specific — a compatible printed tile will never reproduce another maker's graphic. Electronics are worse than incompatible: connectors may physically fit while voltage and control protocols differ, which risks damaging both parts.
Five tests to run on any brand
- Clutch shake. Press two 2x4 bricks together, hold one, and shake. A joint that separates is too loose for structural use.
- Plate rock. Lay a large plate on a piece of glass and press the corners in turn. Any visible rock means the plate will bow a model.
- Stack test. Build a 10-course column of bricks and press the top. A column that folds sideways indicates loose clutch; one that refuses to come apart indicates tight clutch.
- Daylight colour match. Compare against a part you already own in the same nominal colour, in daylight. Under a lamp, everything matches.
- Cross-brand grip. Fit an alternative part onto an official part, then repeat with the roles reversed. The two directions should feel similar; a large asymmetry means the tolerances sit at opposite ends of the band.
Run these on a small sample before committing to a parts order. It costs a few dollars and tells you exactly where the brand belongs in your build.
Three mixing rules
- One brand per structural sub-assembly. Mixed clutch makes joints feel inconsistent, and an inconsistent structure is hard to diagnose when something flexes.
- One brand per visible face, one batch per colour. Colour variation is only visible on flat surfaces, and those are exactly the surfaces people look at.
- Official parts for anything handled repeatedly. Clutch durability under repeated assembly is where the gap persists longest.
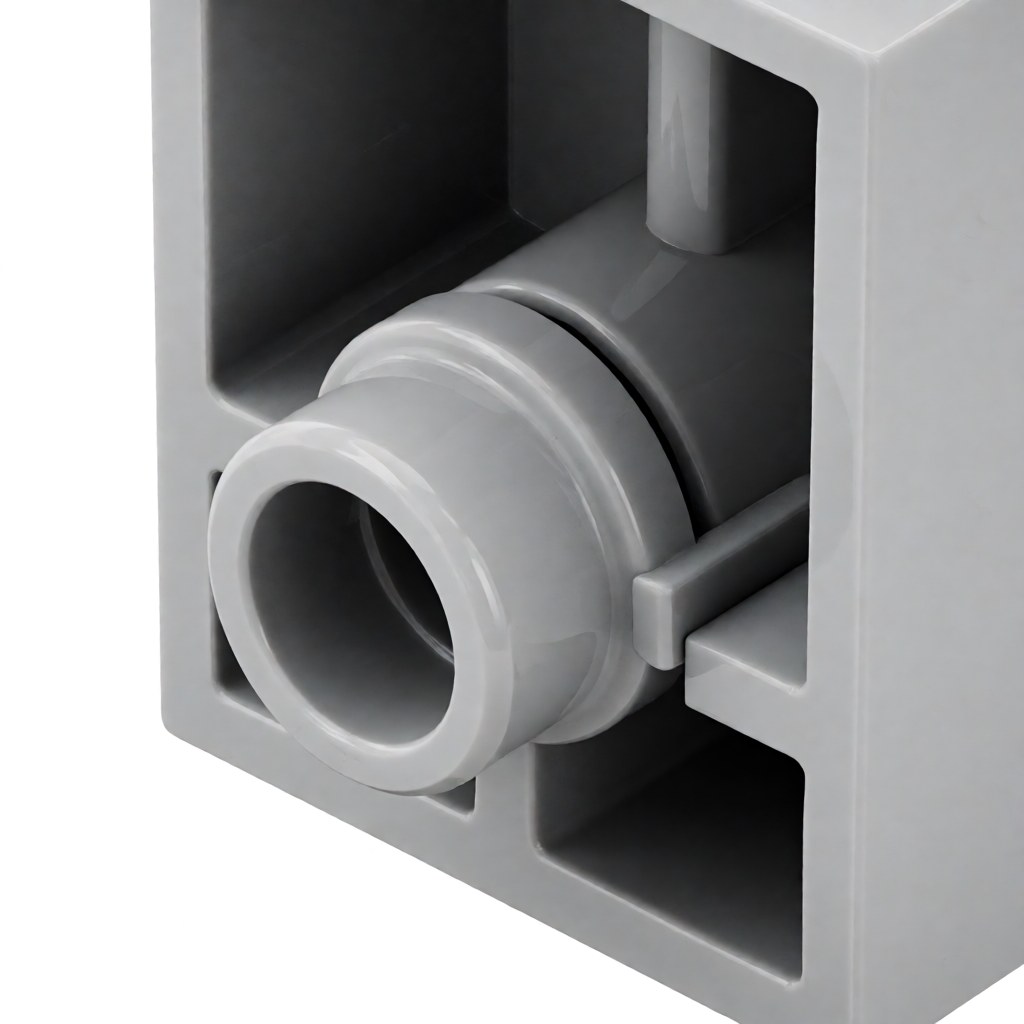
A worked mixing example
A 900-part display building, built with three part sources. The numbers show how the rules above translate into practice.
| Section | Parts | Source | Reason |
|---|---|---|---|
| Foundation and load-bearing frame | 220 | Official | Handled repeatedly, supports everything above |
| Walls and interior structure | 380 | Precision alternative brand | Mould consistency matters in tight sub-assemblies |
| Facade, tiles and detailing | 200 | Mid-tier alternative brand, single batch | Cheap in bulk; one batch controls colour |
| Windows and printed signage | 100 | Official | Printed elements are maker-specific |
| Bulk filler and scenery | Included above | Mixed bulk lot | Acceptable imperfect content, invisible places |
Cost came to roughly 40% of an all-official build, and the only visible difference on the finished model was that the facade needed to stay within one batch. The rule that made it work was not the brand choice — it was keeping the structural frame and the visible face each internally consistent.
Nine questions before buying a compatible part
- Is it in a load-bearing assembly? If yes, prefer official or a precision brand.
- Is it on a visible face? If yes, buy one batch per colour.
- Does it have a mould variant? Groove or no groove changes fit in thin assemblies.
- Is it printed? Printed elements are never interchangeable between makers.
- Is it electronic? Assume incompatible unless the whole system comes from one maker.
- Is it thin and large? Those parts are where warpage shows first; check flatness.
- Is it an angled or hinge part? Detent strength varies and affects any poseable build.
- Do I already own this part? Reuse before buying — it is the cheapest option available.
- Is the colour discontinued? If so, verify availability before designing around it.
Where compatibility breaks down
- Mould variants. The same shape with and without a groove is not interchangeable in tight assemblies, even from the same maker.
- Angle and hinge parts. Detent strength varies, which matters in any poseable model.
- Thin assemblies. Where three plates meet, small tolerance differences accumulate into a visible gap.
- Large flat builds. Base plate thickness variation adds up across a mosaic or a road layout.
- Anything with a sticker or a print — order those from the original maker or accept a different graphic.
A buying checklist
- Buy a small sample first and run the five tests.
- Order structural parts in one batch, per colour.
- Keep load-bearing and handled assemblies on official parts where possible.
- Avoid alternative printed parts in a build that depends on a specific graphic.
- Never substitute motors, receivers or battery boxes across makers.
- Store parts by type, and keep brands identifiable in the bin so you can repeat a good result later.
A note on age grading and safety
Compatibility says nothing about age suitability. Alternative sets carry their own age grading and small-parts warnings, and a cheap set aimed at older builders may include parts small enough to matter for a young child. Check the grading on the product you actually buy, and treat "compatible with" as a fit claim only.
FAQ
Q: Do compatible bricks really fit official bricks? A: Yes, when they use the standard stud geometry, which the major alternative brands do. They click together, and mixing them in one model is normal practice.
Q: Why do some alternative bricks feel looser? A: Clutch is created by an interference fit, and the amount of interference varies between manufacturers and moulds. Geometry can match exactly while feel does not.
Q: Is it safe to mix brands in one model? A: Yes, with two rules: keep each structural sub-assembly to one brand, and keep each visible face to one brand and one order batch. Both reduce the risk of an inconsistent or mismatched result.
Q: Can I use alternative motors with official electronics? A: Do not assume so. Connectors may physically fit while voltage and protocol differ, which can damage both sides. Match the system, not just the plug.
Compatibility gets you most of the way; consistency gets you the rest. Plans on the BrickPlan blueprint library list the parts used, so you can decide which brand to buy each part from before you order anything.