MOC Blueprints: How to Read and Use Any Plan
A MOC blueprint is two documents in one: a build sequence and a parts list. Read the parts list first, price it, then read the sequence — and always build sub-assembly boxes separately before attaching them. Skip any of those three and you will discover the problem at the point where the model is hardest to open up again.
MOC stands for My Own Creation: a model a builder designed rather than one that shipped in a box. A good plan is effectively a teacher, because it encodes decisions you have not had to make yet — how a heavy roof is supported, where a joint should be hidden, which parts carry the load.
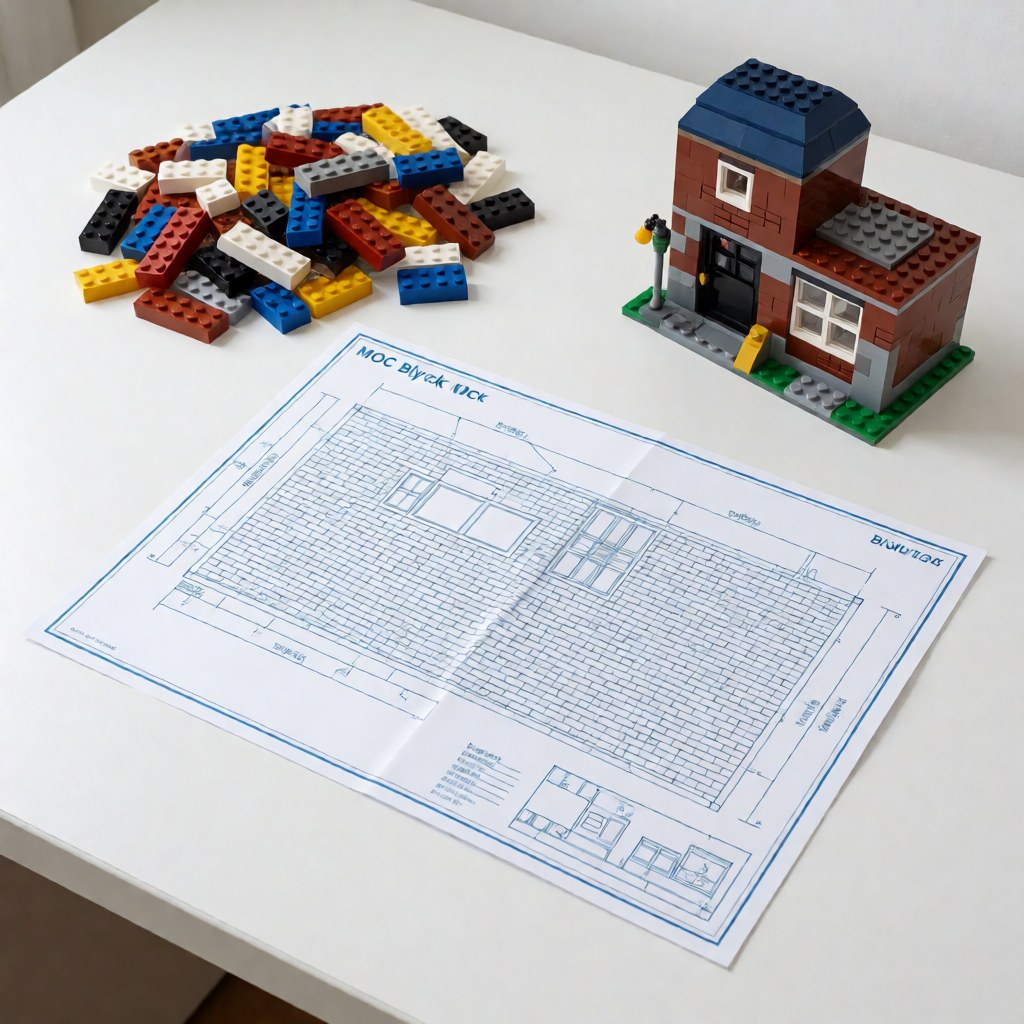
What a complete blueprint contains
| Component | What it gives you | What to check |
|---|---|---|
| Title and finished photos | The target | Photographed model, not only a render |
| Part count and step count | Size and density | Density matters more than size |
| Parts list with quantities | Purchase and verification | Quantities must match the sequence |
| Overview image | Proportions and orientation | Front, back and underside if available |
| Step sequence with callouts | The build itself | Readable at zoom |
| Sub-assembly boxes | Separate clusters to build first | Some plans mark them inconsistently |
| Colour notes or substitutions | Alternatives when a colour is unavailable | Any notes on retired colours |
| Version or revision date | Which file to build | Newest revision wins |
If two or three of those are missing, you are holding a design sketch rather than a plan. That is fine for inspiration and wrong for a 900-part purchase order.
Formats, and when each one is the right choice
- PDF — the default. Prints, zooms, works offline, and is usually the highest-resolution version of the plan. Choose this for anything over 500 parts.
- Image series — convenient on a phone, but there is no parts list and no page order to trust. Acceptable as a secondary reference while a PDF does the real work.
- 3D design file (
.io,.ldr) — essential when you intend to modify the model, because the parts list recalculates automatically after every edit. Open it in a free editor; every change updates your shopping list.
How to read a blueprint: a six-pass routine
Do these passes in order. They take about fifteen minutes and save hours.
- Parts list first, not the steps. Total the parts, note the rare colours, and check how many are parts you already own. This is also your budget calculation.
- Skim the whole sequence once. You are not reading details; you are finding the hard sections — the ones with many small parts, or a step where the model is turned over.
- Identify every sub-assembly box and build each cluster before continuing. Building a cluster in place is the single most common cause of mid-build dismantling.
- Locate mirrored sections. Where the plan shows one wing, one leg or one tower, assume two and count the callouts. Missing a multiplier typically costs one unsolvable step later.
- Study the underside. Roughly a third of MOC plans have a structural layer that is invisible in the finished photos. Check it before your parts are allocated.
- Work out where the load goes. Find the heaviest element — the roof, the tower, the engine block — and trace the route to the base. If the plan leans on one 2x2 column, plan to reinforce it yourself.
Estimating cost, time and difficulty
Rough bands that hold up in practice:
| Part count | Build time | Parts cost (common parts) | Suits |
|---|---|---|---|
| Under 300 | 1–2 hours | 10–25 USD | First build, technique practice |
| 300–800 | 3–6 hours | 25–70 USD | Beginners with one build done |
| 800–2,000 | 8–15 hours | 70–200 USD | Confident builders |
| Over 2,000 | 20 hours and up | 200 USD and up | Display builds, Technic |
Three refinements that matter more than the headline number:
- Cost is set by the parts you lack, not by the total. A 1,500-part plan where you own 1,100 parts is a 400-part order.
- Rare colours dominate the bill. One discontinued colour can account for a third of the total cost of a model.
- Step density predicts frustration. A 900-part plan with 160 steps is far more demanding than a 1,200-part plan with 90 steps.
Red flags in a plan
- No photographed finished model — nothing to check progress against.
- A parts list that is a round number — "about 1,000 parts" usually means it was never verified.
- No underside view on a plan that stacks weight upward.
- Very low file weight for a very large model, which indicates downscaled step images.
- No revision history on a plan that has clearly been updated, so you cannot tell which parts list goes with which sequence.
- Steps that add many parts with one flat diagram and no exploded view — you will be guessing, and guessing means rebuilding.
Splitting a large plan into sessions
A 2,000-part plan is not one build, it is five or six. Split it deliberately rather than stopping when you get tired:
- Break at sub-assembly boundaries. A finished cluster can be set aside for a week; half a cluster usually cannot.
- Finish each session by attaching what you built. Loose clusters on the desk get knocked, mixed and lost.
- Note the step number on a sticky note on the model. Coming back after a gap, finding your place in a 200-step plan takes longer than the first ten steps did.
- Leave the next step's parts out, sorted. Starting the next session with the parts already picked up removes the cold-start problem entirely.
- Reprice at each break. If the next section needs a part you do not own, order it now instead of the evening you want to continue.
Most abandoned builds are abandoned at session three, and the usual reason is a split that destroyed the structure rather than a loss of interest.
What to do when a step makes no sense
Five fixes, in the order worth trying:
- Look at the next step. Its silhouette shows which parts are already in place, which usually resolves the ambiguity in the current one.
- Count the parts you are meant to add. If a step says three parts and you have two, the missing one is the confusion.
- Check for a mirrored twin. The instruction may be about the other side, drawn once.
- Compare against the finished photos, zoomed into the corresponding area. Photographs resolve orientation questions that flat diagrams leave open.
- Set the sub-assembly down flat and look from the side. A surprising share of ambiguous steps are about depth, not shape, and the side view answers them immediately.
Five beginner mistakes, and the fix for each
- Placing a bulk parts order before reading the list. Fix: read the list, identify the top 20 part types by quantity, and buy those first.
- Skipping the sub-assembly boxes. Fix: build each cluster separately on a tray, then attach.
- Sorting by colour. Fix: sort by part type — instructions ask for types, and colour is noise once the parts are on the table.
- Not counting multiples. Fix: count every "×4" and "×6" in the callouts before assembly starts.
- Working from a phone on a dense build. Fix: tablet or printout at 100%, with the parts list open beside it.
Working with plan revisions
Plans change. Stepped corrections are common as builders report problems, and a revised plan may include a stronger joint, a different part, or a corrected quantity. Practical rules: build the newest revision; keep the older file if you have already bought parts against it, since quantities may differ; and if a step in your version contradicts the overall photos, trust the photos and check for an update — the photos were usually shot from a fixed design.
A first-project plan
Pick a plan between 300 and 600 parts with a photographed model and a clean parts list. Budget about four hours. Before starting, sort the parts by type into shallow trays, build every sub-assembly box separately, and check the underside structure against the plan. Do that once and the second build takes half the time.
FAQ
Q: What is the difference between a MOC blueprint and a set manual? A: A set manual comes from a production design and is fully verified. A MOC blueprint comes from an individual designer, so quality varies — the parts list, the finished photos and the callout readability are your quality test.
Q: Can I build a MOC with non-LEGO parts? A: Yes, if the parts follow the standard stud geometry, which most compatible brands do. Watch for colour differences on a visible face and keep each structural sub-assembly to one brand so the clutch feels consistent.
Q: Do I need special software to open a MOC file? A: Free editors open every common format. You only need them for 3D files; PDF plans need nothing more than a reader that can zoom.
Q: How do I know if a plan is too hard for me? A: Divide the part count by the step count. Under about six parts per step is beginner-friendly; above ten means dense sub-assemblies and a lot of small-part work.
Start with a plan you can finish rather than one that impresses. The BrickPlan blueprint library lists plans by theme and part count, and every plan page shows the parts used before you commit.