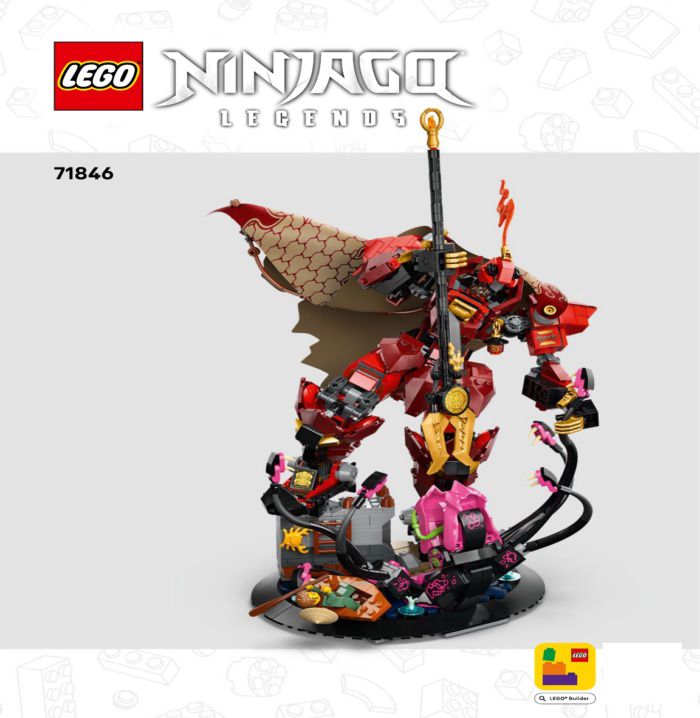
Flame Knight Mech (LEGO 71846)
Author: lego_official
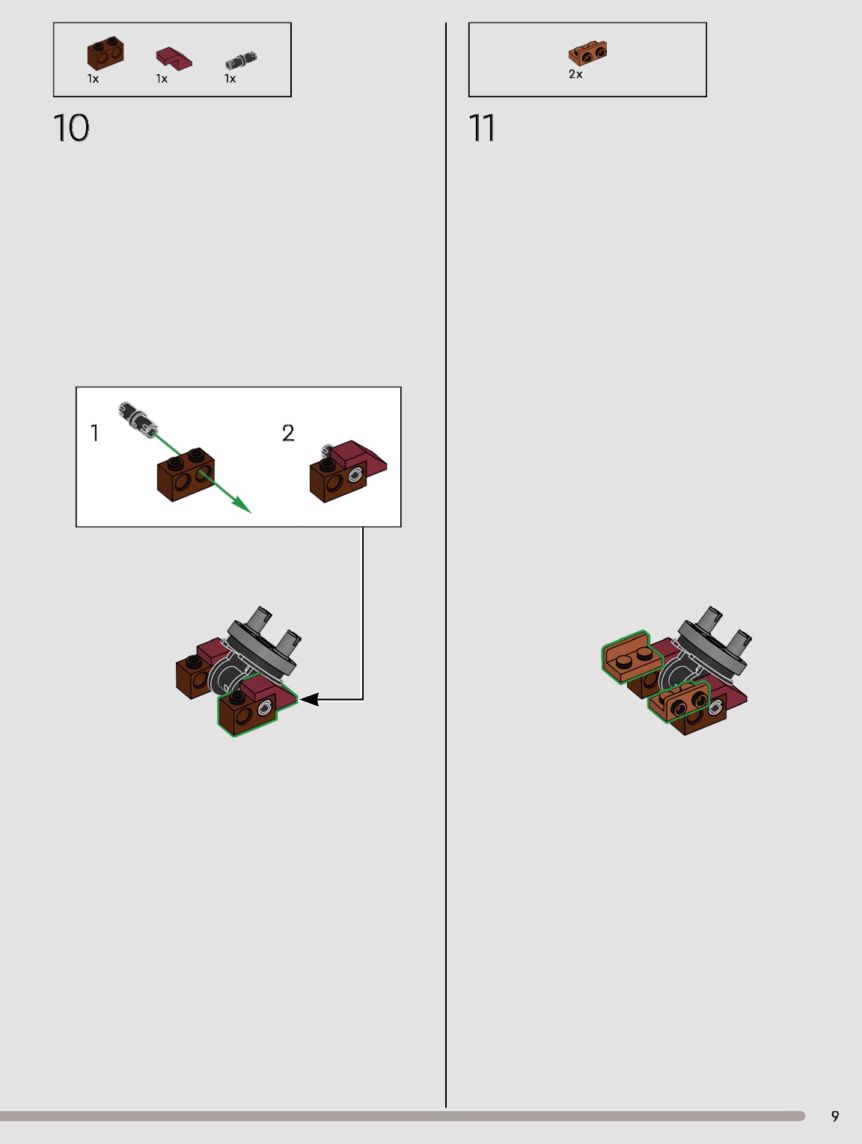
LEGO official set 71846 Flame Knight Mech building instructions. Series: LEGO® NINJAGO®. Piece count: 996. Release year: 2025. Age: 14+. 1 instruction booklet in total.
- Brand
- LEGO
- Set number
- 71846
- Series
- NINJAGO
- Category
- Fantasy
- Pieces
- 996
- Difficulty
- 4 / 5
- Released
- 2025
- Instruction pages
- 209 pages
About this set
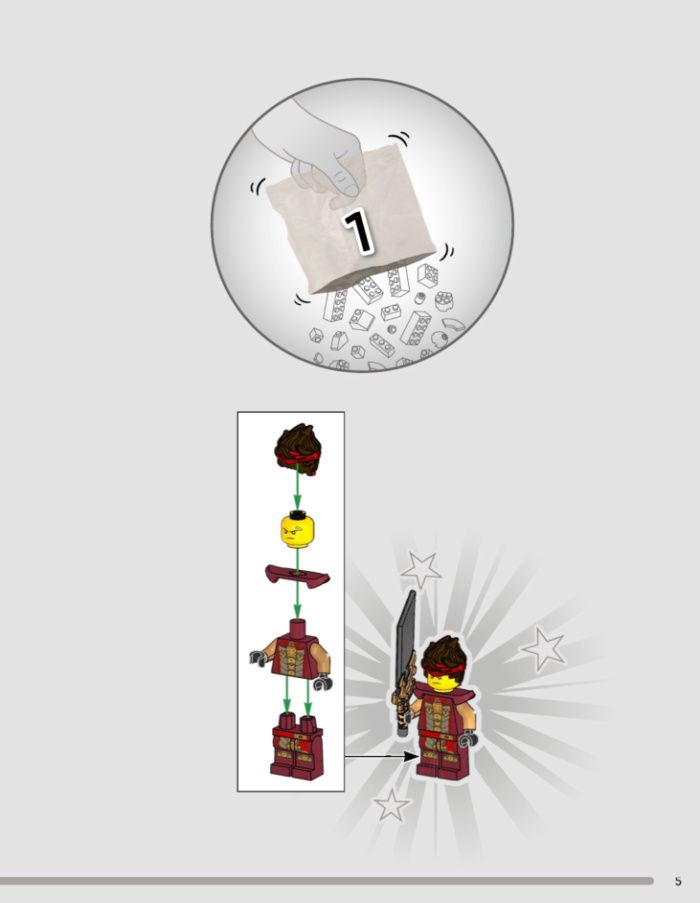
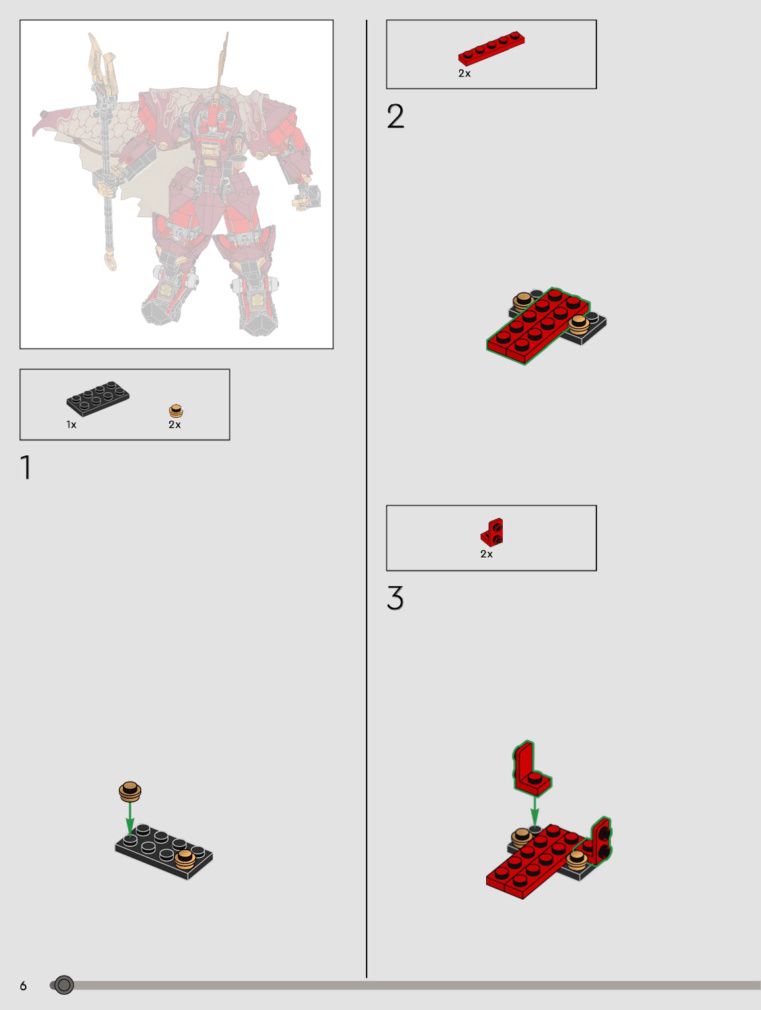
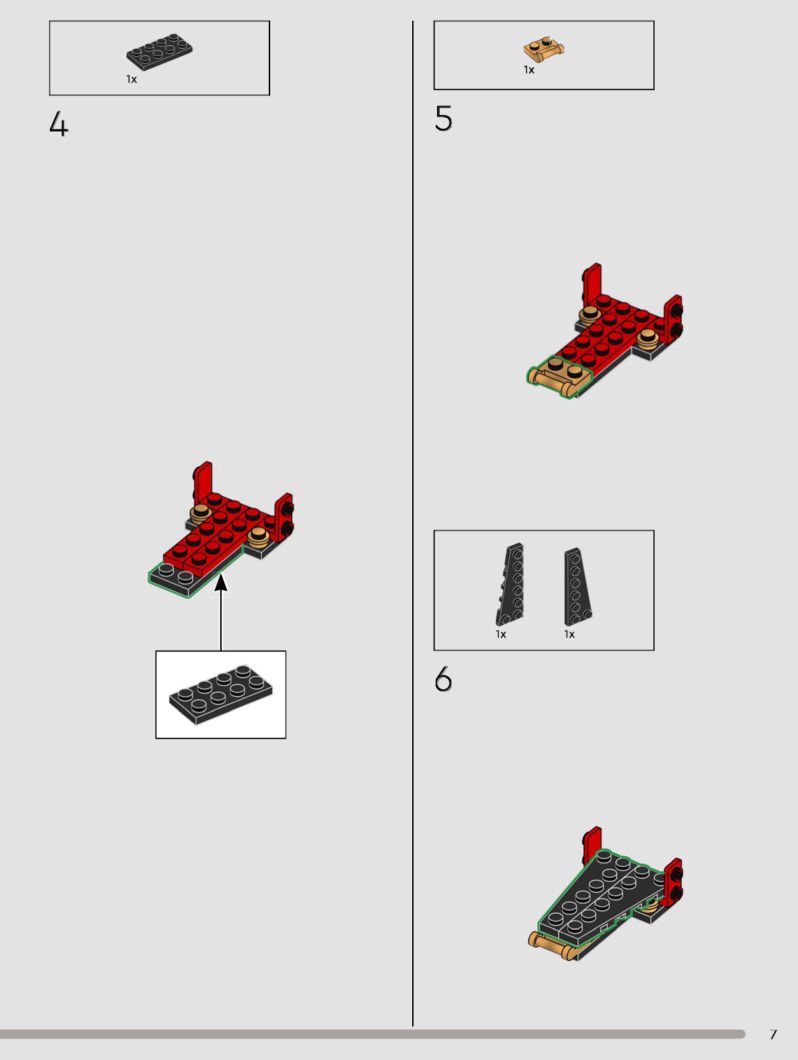
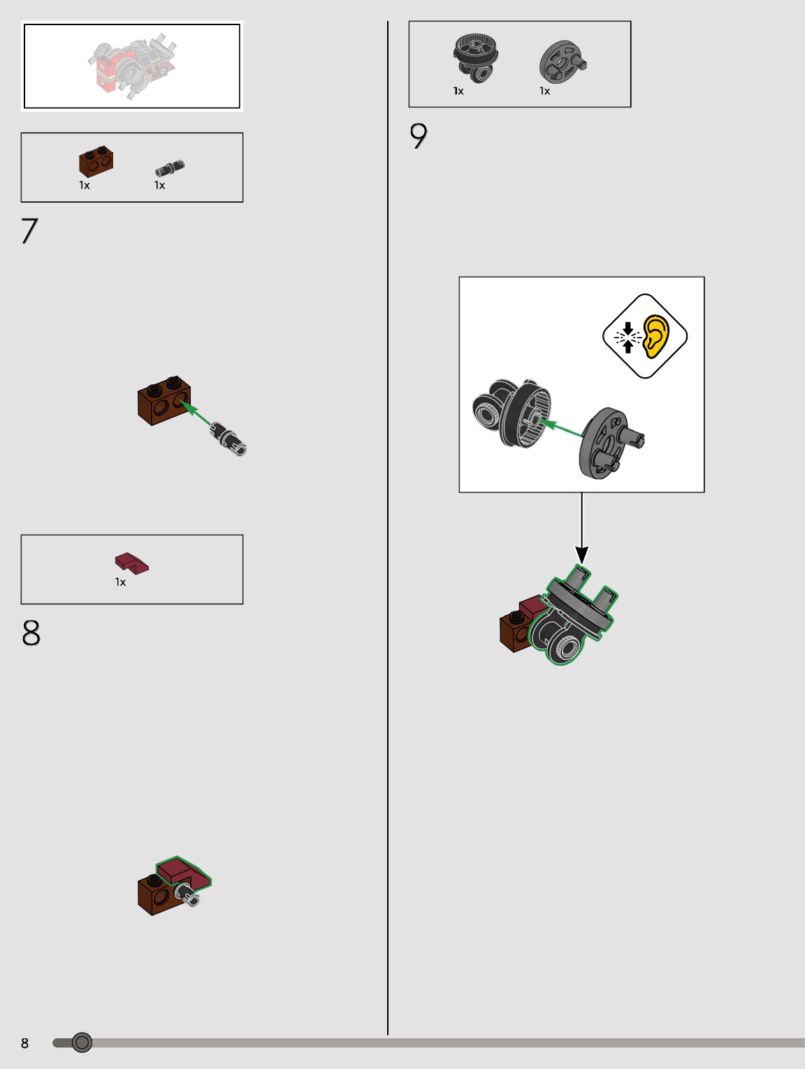
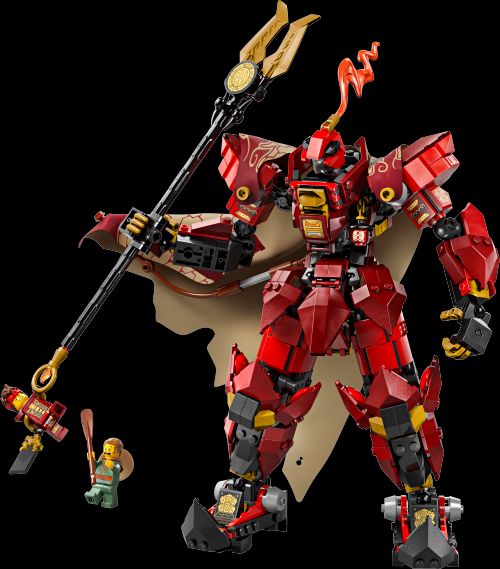
This Flame Knight mech (LEGO 71846) sits in the LEGO NINJAGO line, with the box marked NINJAGO LEGENDS. At 996 pieces and a 4/5 difficulty rating, it is aimed at builders who want a more involved ninja mech rather than a quick afternoon build. The color scheme leans on red with gold, black, and beige accents, and the finished model is a large mech carrying a long-handled weapon, plus a cape, a headpiece, and a small minifigure. My advice is to build the torso and leg frame first, then layer the red armor and gold trim on top, because the joint structure has to line up at the skeleton stage and fixing it later is a pain. Save the cape and headpiece for the very end so you are not knocking them off mid-build. Test-fit the weapon in the hand before locking it down. With 996 pieces this reads more as a display set than something you will pose constantly, and the minifigure works well displayed separately to add scale.
- Category: Fantasy
- Difficulty: 4 / 5
- Parts: 996
- Brand: LEGO
- Set number: 71846
- Views: 8
- Likes: 0
Instruction pages