How to Read MOC Blueprints: Parts List to Step Guide
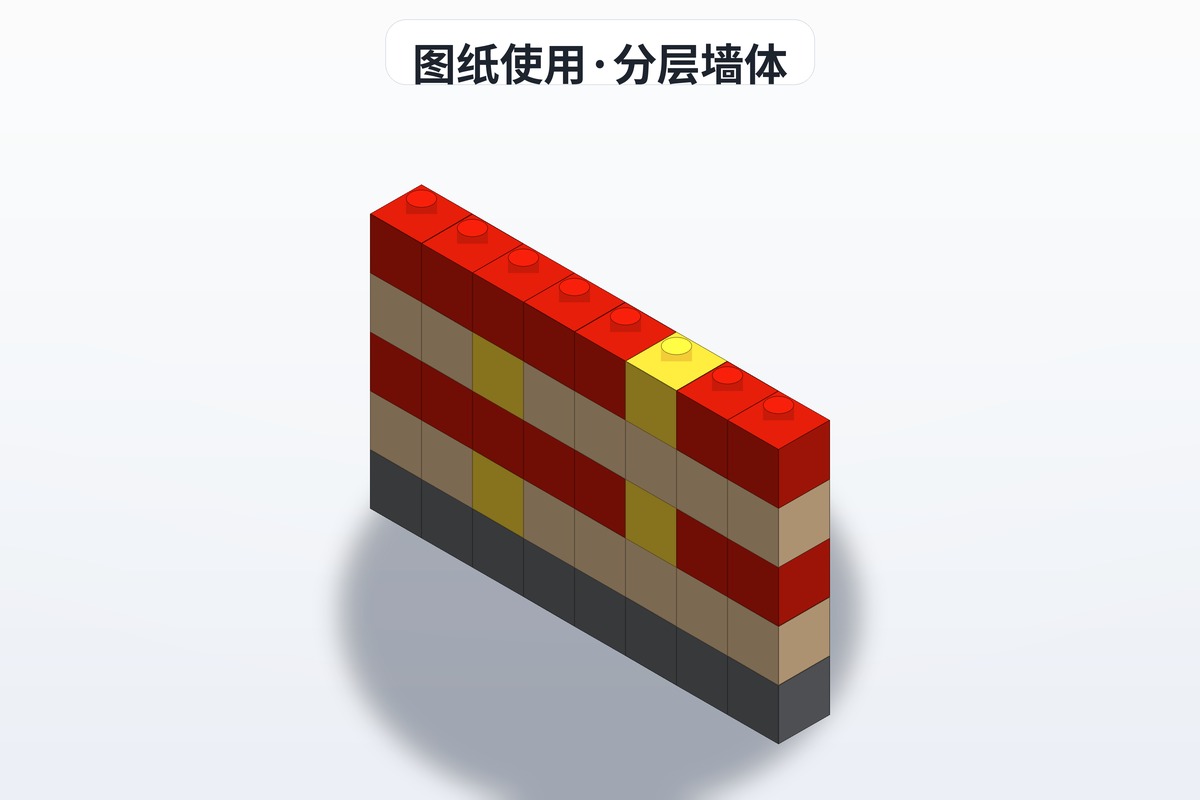
Nine out of ten people are lost the first time they open an MOC blueprint: dense lines, arrows pointing at nothing in particular, and a pile of colors that look identical. I have walked several beginners through it, and they stall in exactly the same places. It is not that they cannot build, it is that they cannot read the drawing. This guide starts at the parts list and explains every symbol on the page.
1. The Basic Structure of a Blueprint
1.1 What a Blueprint Contains
A complete brick blueprint usually includes the following parts:
Cover information:
- Model name and designer
- Total part count
- Difficulty level (beginner / intermediate / advanced)
- Finished dimensions (length × width × height)
Parts list:
- Every part type needed and the quantity of each
- The part number and color of each piece
- Some blueprints also note where to source parts or include purchase links
Step-by-step instructions:
- The build broken into numbered steps
- Each step marks the newly added parts and where they go
- Steps are linked with dashed lines or arrows
Finished model showcase:
- Multi-angle photos of the completed build
- Some blueprints note how the moving features work
1.2 Common Blueprint Formats
The first question in using a blueprint is what format you actually have:
- PDF: the most common format, viewable on a computer or phone, supports zooming
- Image files: JPG, PNG and similar, usually named by step number
- HTML: a web-based blueprint with more interactivity
- Stud.io source file: the native file from the design software, which you can rotate freely inside the program
On brickplan.cn you can download MOC blueprints in PDF, with high enough resolution for printing or viewing on a device.
2. How to Read a Parts List
2.1 The Part Numbering System
The most important thing in a parts list is the part number. Taking LEGO parts as the example:
- Standard numbers: such as 3001 (2x4 brick) and 3023 (1x2 plate)
- Color IDs: such as 1 (white), 2 (light gray), 3 (yellow)
- Combined notation: "3001+1" means a white 2x4 brick
Chinese brick brands generally use a similar numbering system, and most parts are LEGO-compatible. If you cannot find a particular number while gathering parts, ask in the brickplan.cn community or use a part identification tool.
2.2 Tips for Reading the Parts List
Steps for checking the parts list:
- Check the total first: confirm the total part count and get a sense of the project's scale
- Group by type: how many bricks, plates and special pieces are there
- Look for rare pieces: check for unusual colors or hard-to-find parts
- Mark what is missing: flag the parts you do not own and buy them in advance
Practical tips:
- Print the parts list and tick items off as you go; it is faster
- Use compartment boxes sorted by part number so pieces are easy to grab while building
- If a part is missing, first check whether there is a workable substitute
2.3 Common Symbols in a Parts List
| Symbol | Meaning |
|---|---|
| ×2 | Two of this part are needed |
| [number] | Part number, e.g. [3001] |
| Color swatch | The color of that part |
| Hatched shading | The part is visible in this step but is not newly added |
3. How to Read the Step Images
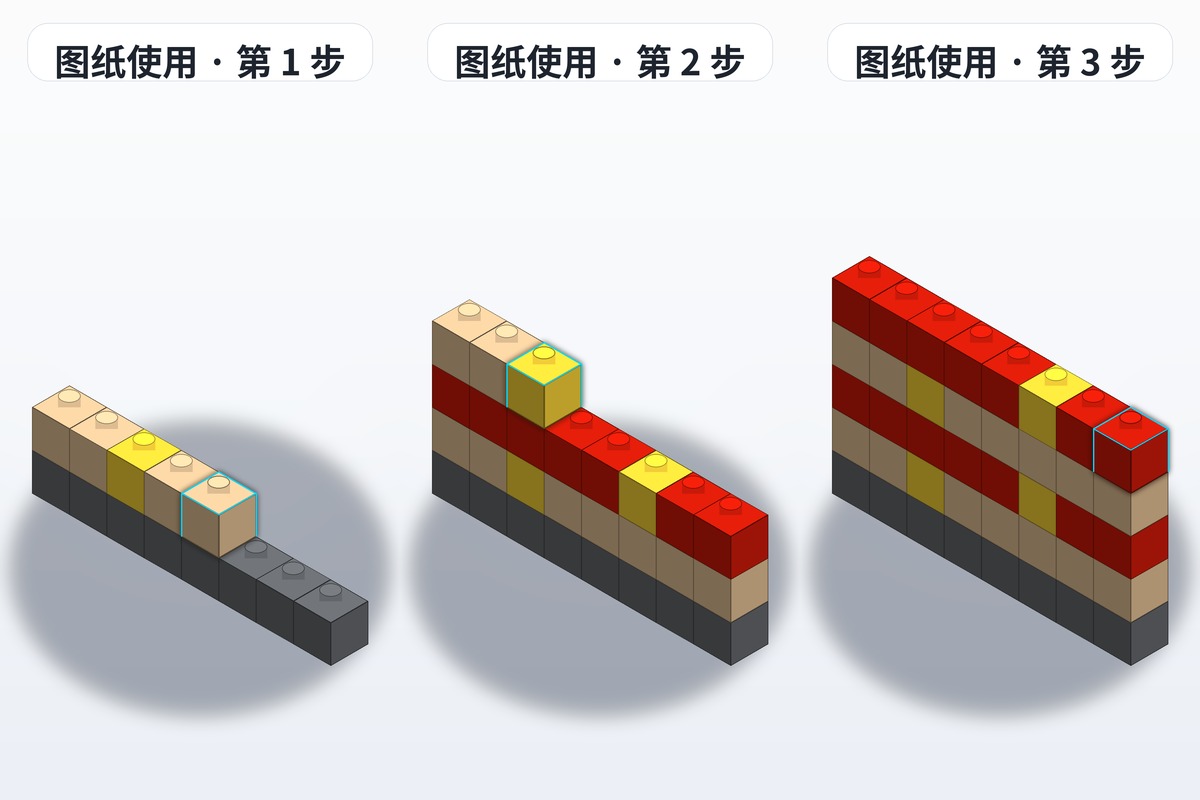
3.1 Basic Elements of a Step Image
Understanding the step images is the core of using a blueprint. Each step image usually contains:
- The structure from the previous step: shown in gray or pale colors
- Parts added in this step: shown in color or highlighted
- Placement indicators: arrows, dashed lines or annotations
- Step number: usually in the top-left or top-right corner
3.2 Reading Colors and Markings
How new parts are marked:
- Color highlight: new parts are shown in bright color, existing structure in gray
- Outline style: solid outlines for new parts, dashed outlines for existing structure
- Number labels: numbers on new parts that match the parts list
Direction markings:
- Arrows: point to where the part goes
- Dashed arrows: show the path or direction of installation
- Rotation symbol: the part needs to be turned by a certain angle
3.3 The Reading Order for Step Images
How to read a step image correctly:
- Check the step number: confirm which step you are on
- Compare with the previous step: look at what changed between the two
- Identify the new parts: work out which parts were added in this step
- Confirm placement: see clearly where the part should sit
- Check orientation: make sure the part faces the right way
Common mistakes:
- Skipping steps, then finding later that parts will not fit
- Ignoring direction marks and installing a part backwards
- Mistaking gray existing structure for a new part and adding it twice
3.4 Multi-View Step Images
Advanced blueprints often provide several views:
- Front view: shows front-to-back relationships
- Top view: shows left-to-right positions
- Exploded view: shows the relative position of parts and the order of assembly
- Close-up detail: a zoomed view of a complicated connection
4. Special Techniques for Reading MOC Blueprints
4.1 How They Differ from Official Set Instructions
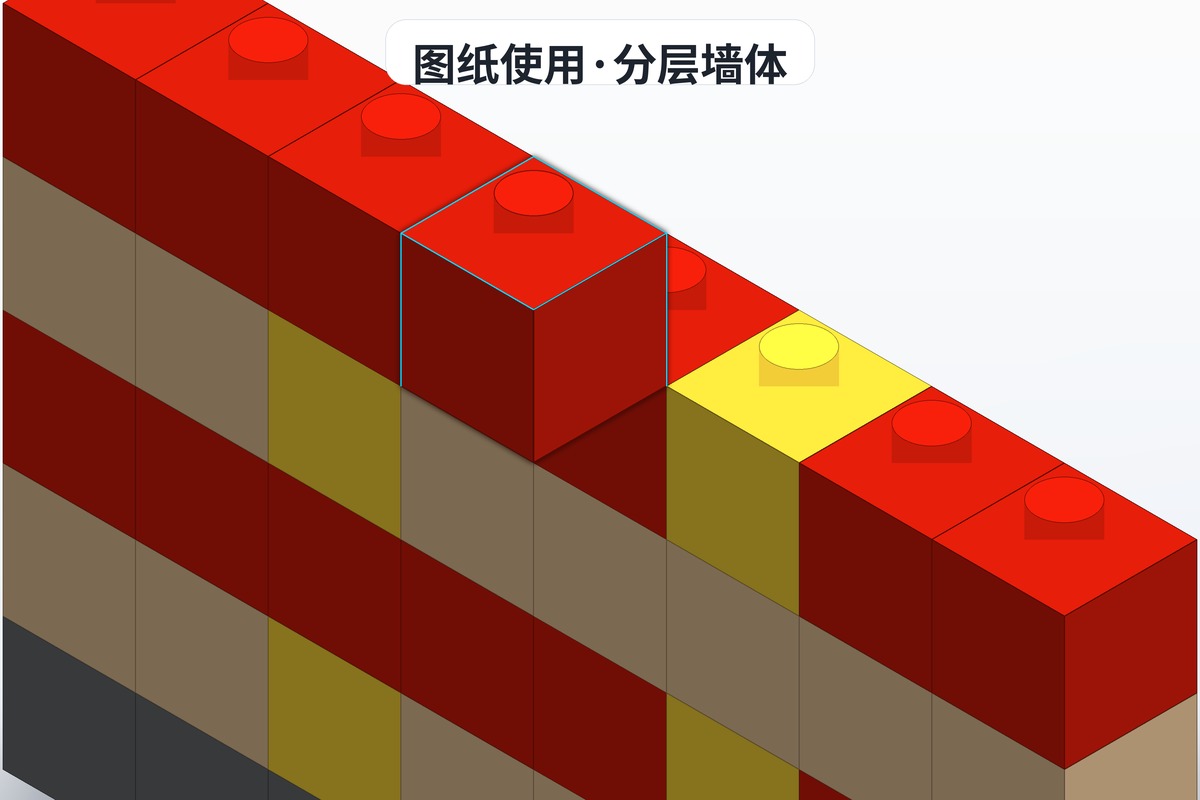
MOC blueprints (such as those on brickplan.cn) differ from official set instructions in a few ways:
- Denser steps: each step contains more parts, so you need to look more carefully
- Uneven quality: every designer has a different style
- No numbered bags: MOC blueprints come without bagged stages, so you prepare all the parts yourself in advance
- Possible errors: some MOC blueprints contain mistakes in the steps, so check patiently
4.2 Extra Information in MOC Blueprints
A good MOC blueprint usually includes:
- Technique notes: the designer explains how certain unusual structures go together
- Alternatives: what you can use if a particular part is unavailable
- Color schemes: the original colorway plus optional alternatives
- Modification suggestions: how to personalize the model
4.3 What to Do When the Blueprint Gives You Trouble
The blueprint is hard to see?
- Zoom in; PDF format supports high-resolution scaling
- A computer screen suits complex blueprints better than a phone
- Print it out; paper is easier to compare against
A step is wrong?
- Go back one step and re-check
- Read the comments on the blueprint; other builders may have spotted the problem already
- Ask in the brickplan.cn community and the designer or other builders will help
A connection makes no sense?
- Look at the blueprint from different angles
- Search for a tutorial video on that building technique
- Open the source file in 3D modeling software and rotate it freely
5. Common Blueprint Viewing Tools
5.1 Desktop Tools
- Adobe Acrobat Reader: the best choice for viewing PDF blueprints
- BrickLink Studio: opens and edits blueprint source files
- A browser: for viewing web-based blueprints online
5.2 Mobile Tools
- A phone PDF reader: for checking the blueprint on your phone
- A tablet: the larger screen is better for fine detail
- Tip: download the blueprint locally so network problems do not interrupt you
5.3 Printed Blueprints
For large projects, printing is still the most convenient option:
- A4 printing: good for single-page blueprints
- A3 printing: better for large drawings where detail matters
- Binding: multi-page blueprints can be bound into a small booklet for easy flipping
6. From Reading to Building: A Practical Workflow
6.1 Before You Build
- Download and open the blueprint, and skim the whole thing (to gauge difficulty and scale)
- Check the parts list and confirm you have every part
- Sort the parts by the list (sorting by type works well)
- Prepare your tools (brick separator, a flat surface, plenty of light)
6.2 While Building
- Check each step against the blueprint as soon as you finish it
- When a section is difficult, stop and think instead of forcing it
- Take a short break every 5-10 steps to stay focused
- Photograph the key steps with your phone so you can refer back later
6.3 After Building
- Compare the finished model with the showcase photos and check every detail
- Check structural stability for anything loose
- Take photos and share them with the community
- Keep the blueprint safe so you can rebuild after disassembling
Two Last Things
Using a brick blueprint is not mysterious at all: understand the parts list thoroughly, then follow the step images in order, and remember that every step is there for a reason. Once this reading method becomes habit, any blueprint is manageable.
Reading only goes so far. Head to brickplan.cn and pick one out; there are models from beginner to expert level, and the build notes are clear. Animals, architecture, vehicles, mechs, take your pick. Build a small one tonight; that is the fastest way to practice.